
Powertrax No-Slip Traction System
Installation … or so we thought… make that …
Detroit Locker Installation
Occasionally you set out to do a project and things don’t always go as you planned. This was one of those such projects where the installation of a Powertrax No-Slip Traction System ended up becoming a DIY Detroit Locker installation. You might be wondering how that could happen, well, that’s exactly what happened. If you’re looking for an installation process of the Powertrax No-Slip Traction System, you’ll find that here as well, but the following write-up takes a left turn about halfway down the trail.
First a little background info…
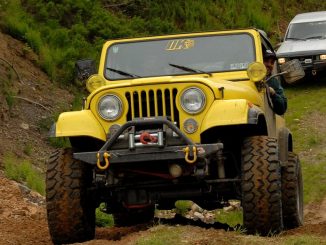
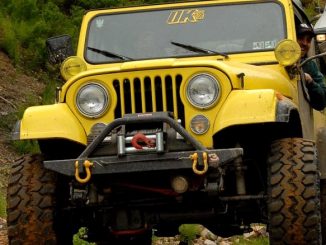
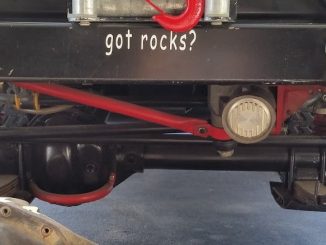
This CJ-7 is equipped with front and rear Dana 44 axles, the front from a Jeep Wagoneer Hybrid (formerly a Scout Dana 44) and the rear Dana 44 out of a late 70’s Scout. Both axles have open pigs with 3.07 gears. The plan was to install a Powertrax No-Slip in the rear, run it for a little while, then when funds and time are available, swap in lower gears, drop the Detroit Locker that was up on the shelf into the rear axle and move the Powertrax No-Slip up to the front Dana 44. Sounded like a good plan.
So we set out one fine Sunday morning to install a Powertrax No-Slip into the rear Dana 44 of a Jeep CJ-7.

Digging In
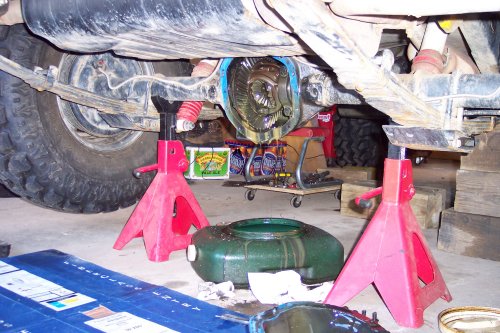
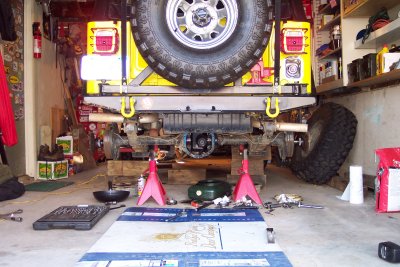
It started out as any good axle project might, by loosening lugs of the rear tires before jacking it up.
Then we secured the vehicle on jack stands and blocked the tires.
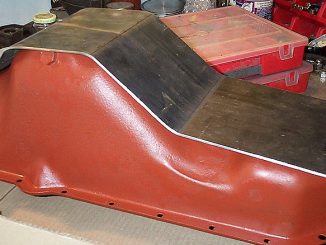
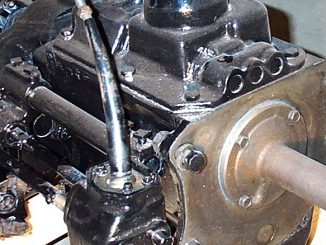
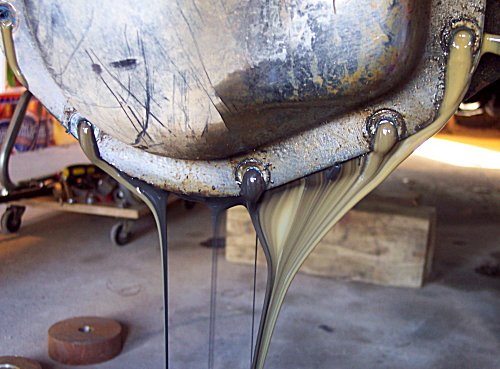
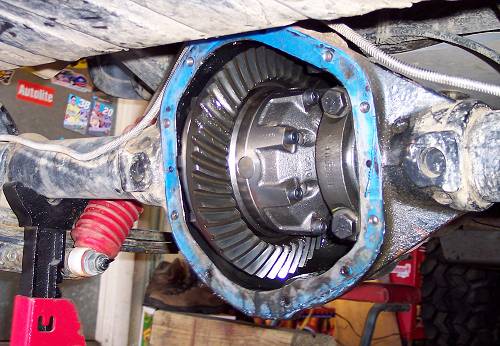
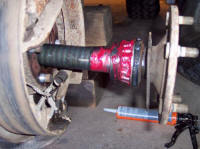
We removed the differential cover and cracked the seal to let a watery, mocha expresso mix out of the differential. First sign of trouble ahead? Maybe but it isn’t like we haven’t seen that before. Sort of comes with driving though rocker panel deep creeks and mud holes. Which is good reason to inspect your gear oil once in a while.
First inspection of the gears and the carrier were fine. Nothing looked worn or damaged. So we let it drain and cleared out any crud at the bottom.


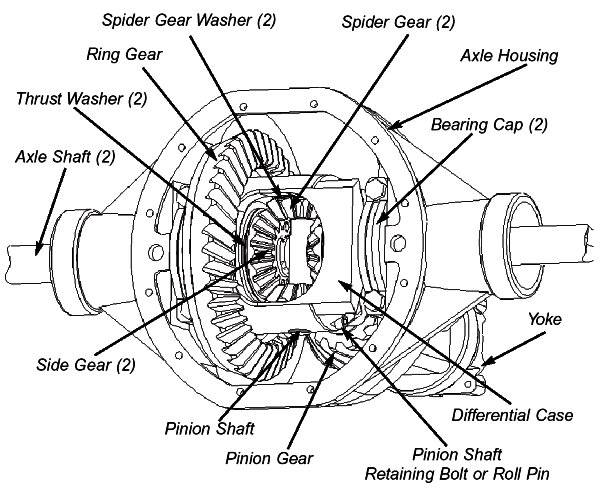
Following the Powertrax No-Slip instructions, the passenger side axle will have to be pulled out a few inches, so we removed the passenger wheel and drum brake, then removed the 4 retainer bolts for the passenger side axle shaft located on the inside of the brake backing plate. Then pulled out passenger side axle shaft a few inches.
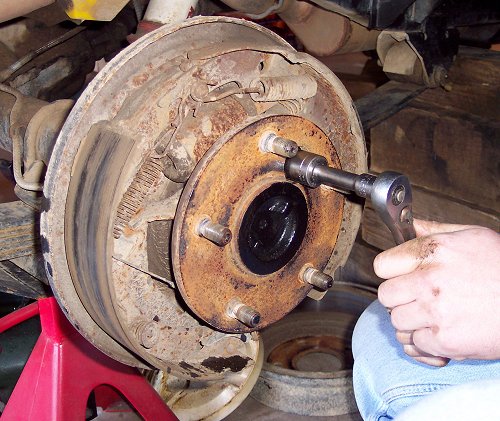
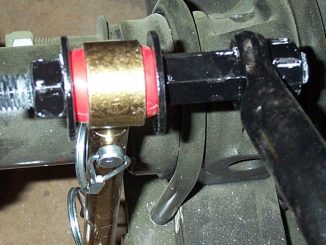
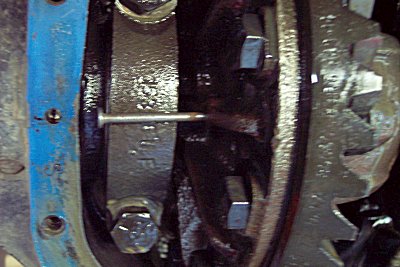
The Powertrax No-Slip instructions suggested that with some gear ratios you are able to remove the pinion shaft retainer bolt or Roll pin in this case, and then remove the Pinion Shaft without removing the carrier from the axle. Apparently with some gear ratios the ring gear is not as thick and the pinion shaft will clear the ring gear and slide out. A 12 penny nail with the point ground flat made a good improvised replacement for the long thin punch, which we didn’t have. With the Roll Pin out, we tried removing the pinion shaft. It didn’t clear the 3.07 ring gear. The carrier will have to come out.
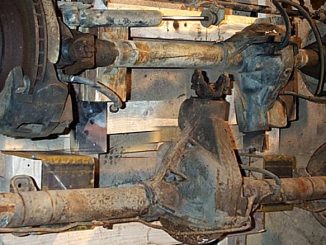
So we jumped over to the driver side and removed the tire, brake drum, retaining bolts and pulled out the driver side axle a few inches as well.
Removing The Carrier
We marked the Carrier Bearing Caps as left and right, top/bottom prior to removing them. I used a center punch and punched 1 mark on the driver-side/top and two marks on the passenger-side/top and made a mental / verbal note. Then we removed the Bearing Caps and set them aside.
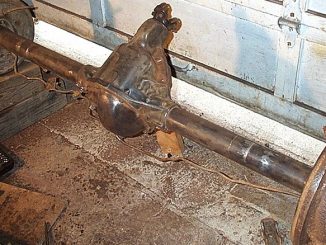
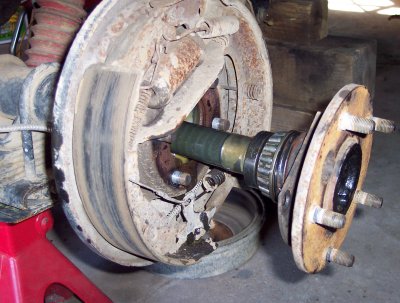
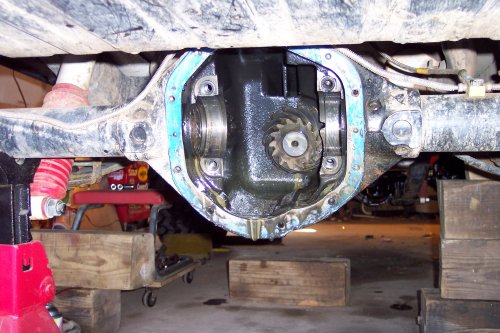
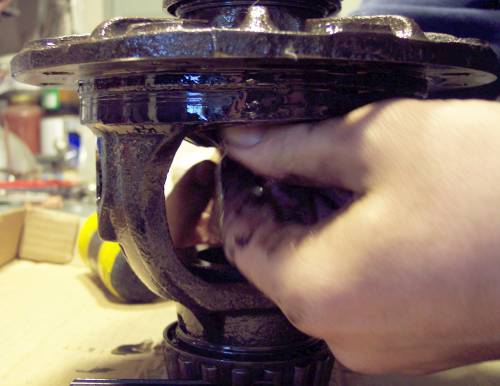
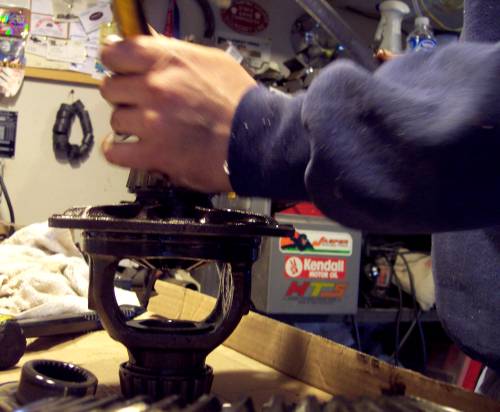
Then we proceeded to remove the carrier. Generally the carrier is a snug fit. Sometimes very snug. In most cases we’ve had to use a series of pry bars, to gently pry the carrier out of the axle housing. Don’t pry on the gears unless you are scrapping them. If you use this method of prying, hang onto the carrier. They have been known to let go and pop out. Very tight axle housings might require a spreader, which bolts onto the axle housings diff cover plate bolt holes and spreads the housing open ever so slightly; enough to pull the carrier out.
With a little persuasion from the 18″ pry bar and a smaller pry bar, we had the carrier out.
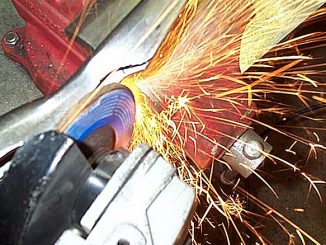
To The Shop Bench
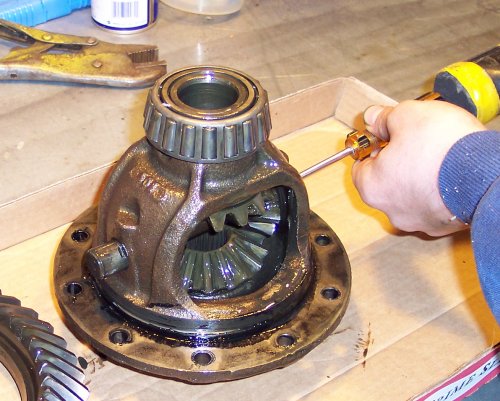
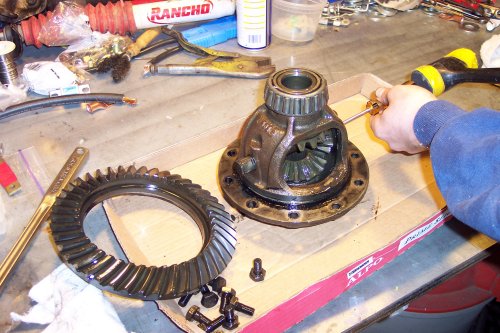
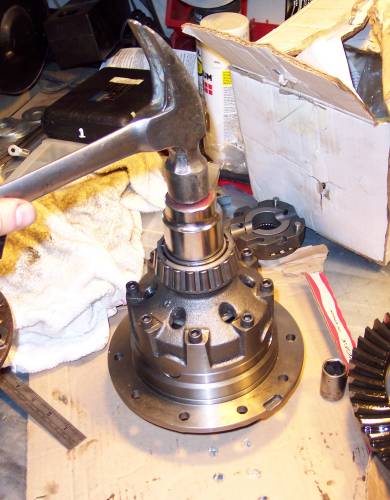
Since the Ring Gear had to be removed, we found that we could grab the carrier in the vice without touching the bearings or spider gears. This setup was good access for use of the breaker bar to back off the ring gear bolts.
With the ring gear removed, we tapped out the pinion shaft.


With the pinion shaft out, the Spider Gears and Spider Gear Washer rotated out.

The Spider Gear and thrust Washers that the axles slide into were next to be removed. The passenger side slid right out.

Driver side Spider Gear and Spider Gear thrust Washer were a different story. For some reason they would begin to come out but would seize up and not budge. An old 30 spline axle shaft made a good battering ram to pound out the spider gear.
This is where things got interesting…
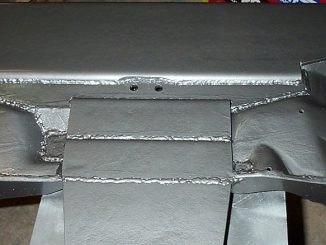
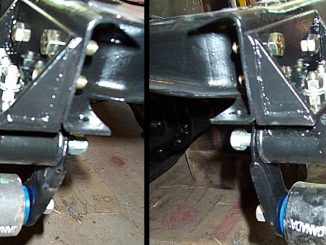
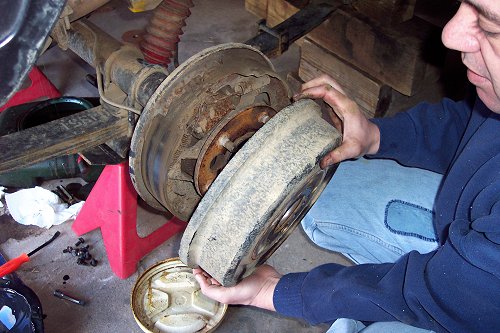
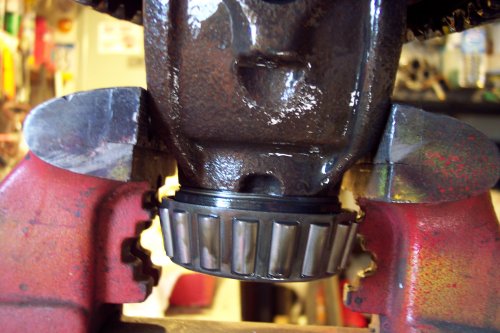
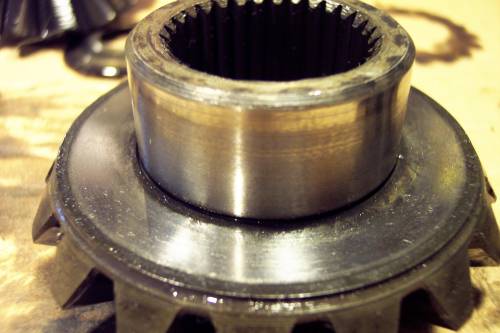
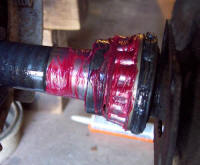
Once the Driver-side spider gear was out, we could see why it didn’t want to come out. If you look to where I’m pointing in the picture, you’ll see metal stuck to the machined surface of the spider gear.
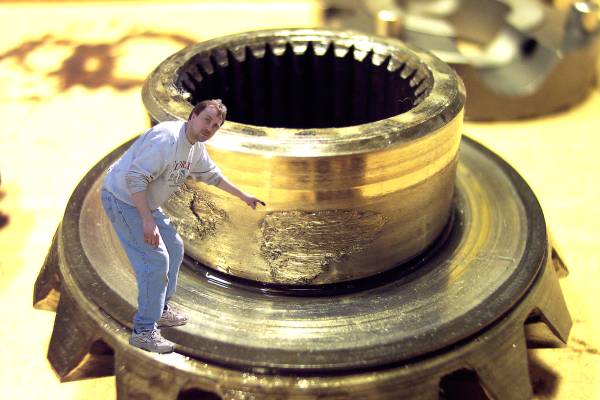
That metal came from the carrier.
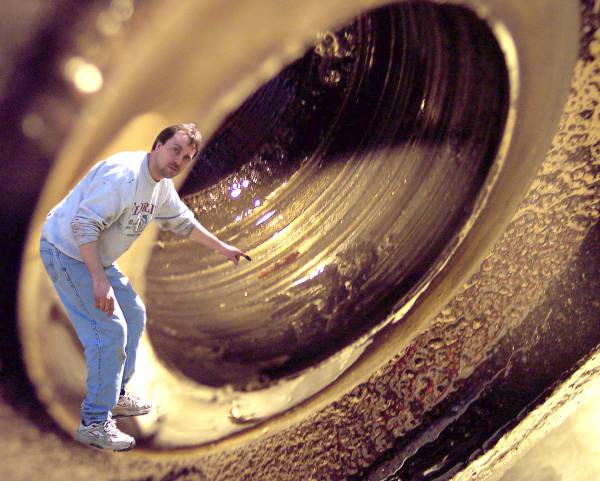
How that happened, I’m not sure. I would guess the axle sat for a long time and had moisture in the axle housing. The metal to metal seized, then later when it went back into service, it tore the metal from the housing and scored the hell out of the carrier’s machined surface where the spider gear rides. The bottom picture you’ll see what the spider gear surface should look like.
What did this mean to the PowerTax No-Slip install?
Look again at the carrier’s scored surface. That’s where one side of the PowerTax No-Slip Coupler rides. The carrier and Coupler are supposed to be close tolerance. The good side was a close tolerance fit, the scored side was not and it wobbled in the carrier. Not good. I think the PowerTrax No-Slip would probably be damaged in a short period of time without a clean engagement of the PowerTrax Coupler and the PowerTrax Driver and Synchro
Ring to the Paddle. A quick end to a fine 400 dollar lunchbox locker that really should be up front.
So Now What?
This is where the trail takes a left turn. These were my options:
- Install it anyway and risk damage to the PowerTrax No-Slip.
- Pull the carrier out of a Scout Dana 44 and try to shim and use that.
- Put the original open carrier back together with the damaged parts and play with it for a while until I have funds and a time window to install the Detroit locker sitting up on the shelf.
- Get it to the shop and do the gears and the Detroit Locker within the next 3 weeks, just in time for the “OK Auto 4×4 Tour 2006” … or …
- We try to put the Detroit in Ourselves!
With “OK Auto 4×4 Tour 2006” only a few short weeks away and the thought of another weekend offroad with an open carrier, we decided to try out skills (read luck) at installing the Detroit Locker and getting the gears meshed right.

If you want to continue reading about how to install a PowerTrax No-Slip, follow this link.
Installing The Detroit Locker
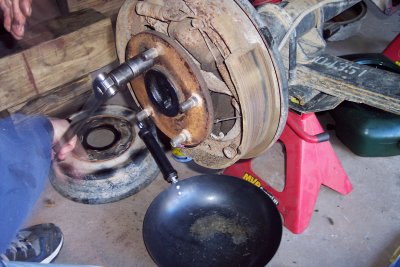
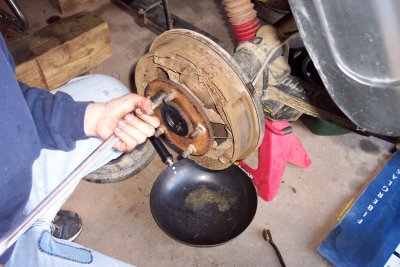
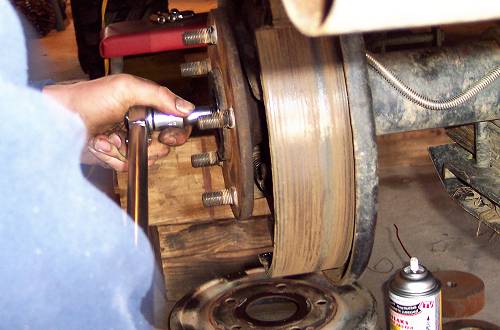
The first thing we had to do was pull the old wheel bearings off. We were going to reuse them and the shims so using a big gear puller, we successfully pulled the bearings off both sides without tearing up the shims (too much). We kept them separate to identify which went on the left and which went on the right as well as the shims, left and right.
We also got of the micrometer and compared the two carriers, the open and the Detroit Locker, to figure about where the ring gear bolting surface was on both. We were trying to guess at about where the shims might have to be moved to get the ring and pinion gears to mesh as well as possible.
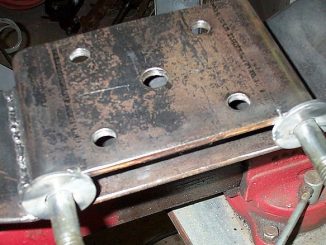
The two carriers were close in measurements from the driver-side end to the ring gear bolting surface (close enough) so our first attempt at putting it in was to put the shims back where the were on the open carrier and tap the bearings on using a large socket, tapping on the inner bearing race. Smearing some grease on the inside of the bearing races helped them go on easier.
We then bolted on the ring gear to the book specified 55 lbs of torque.
Since we lacked any real measuring devices, we found that the Detroit was too wide to get back into the axle housing. So back to the bench to remove about 2/100ths. We decided on removing a 2/100ths shim from the side that seemed to be the side that should get the ring gear about where it was in the open carrier. Nothing technical, just plan old backyard mechanic “saboutrite”. A second time getting the carrier in the axle housing and it was a snug fit and the backlash seemed to be about what we would expect it to be on a professionally setup axle, judging by past pro installations we had done for us.
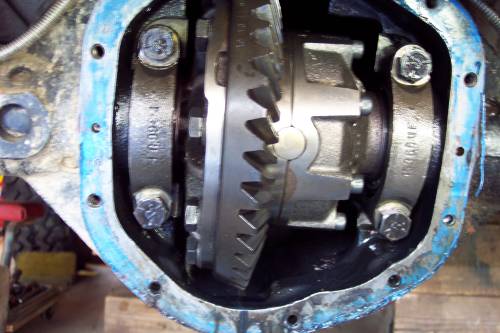
We bolted in the bearing caps to the book specified 60 lbs of torque and smeared some grease on the ring gear to get a pattern. We rolled the drive shaft forward to roll the gears through the grease. We examined the grease and put it back together.

Reassembly Stage
We cleaned up the axle housing seal surface with a razor and some break cleaner. The axle bearings were also clean up and greased even though the wheel bearings are lubricated by the gear oil. We also cleaned the outer seal surfaces and put a little silicone sealant on the outer axle seals to ensure a good seal.
The axles were slid into the Detroit and the retaining plate re-bolted to the brake backing plate. The brake drums were re-installed and the tires put back on, hand tightened.
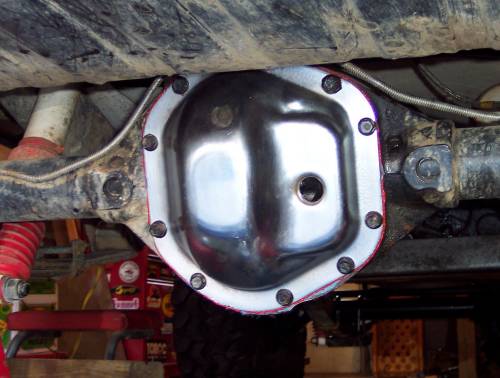
A liberal coating of gasket silicone was placed on the axle housing and the cover plate bolted down. We broke for lunch to allow the silicone to set up a little before pumping in the gear oil. After about 45 minute we pumped in some gear oil and plugged it up. We lowered the Jeep and tightened the wheel lugs. A quick test of the locker was to jack up one tire as it was being backed out to see the other grab. It did. Nice.
First Run Out
Our first run out was around the neighborhood. The Detroit was quiet, yet noticeable. I’ve had experience with a locker on the road so I knew what to expect. Throttle in a turn will push the vehicle towards straight ahead. Shifting through the gears will cause the short wheel based CJ-7 to jerk one way or the other a little. Knowing it was going to happen, made it easier to predict and compensated for. The gears were quite, no odd sounds. After a short run, when we got back, we felt for any heat build up of the axle housing and that was minimal. Seems fine so far.
Second Run Out….Offroad
The following weekend I took the Jeep over to a friends house for a little backyard (38 acres worth) wheeling through mud and trails. Through some low, swampy areas of the property, it was very noticeable the Detroit locker was back there powering the Interco Super Swamper SSRs. With minimal effort, the Jeep climbed through some very sloppy mud. Its good to finally have a Locker in the Project CJ-7.
Final Thoughts
First, the gears are temporary. 3.07 will be 3.73 soon. With a T-18A transmission and its 6.32:1 first gear and the Jeep in 4 low, the crawl ratio is not as bad as it might be without the T-18. A 6.32:1 first gear helps compensate for the 3.07 gears nicely. When time allows, the gears will be swapped and the PowerTrax will be installed up front at that time.
Even though we didn’t plan to install the Detroit Locker ourselves it worked out in the end. I have little concern about wearing out the gears due to a slightly less than perfect shimming of the gears. Mainly because the Jeep sees very few road miles, most is offroad and that amounts to very few miles in a years time. Secondly the gears are coming out soon anyway and a pro will install the new gears at that time. Overall … very pleased. Can’t wait to hit the trails of Rausch Creek in a few weeks.