
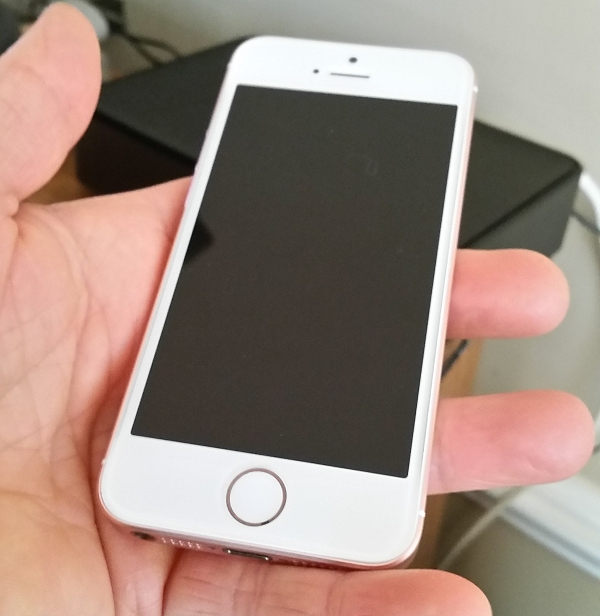
 When my 10-year-old daughter presented me with her wet smartphone and said it’s acting “glitchy”, I looked down to see a dripping wet smartphone with a screen that was shorting out doing some really weird things on the display. I immediately went into multitasking action, shutting off the malfunctioning phone, grabbing the typically prescribed bag of dry white rice all the while lecturing my 10-year-old daughter on how she needs to take better care of her stuff. Especially the expensive stuff. That still has payments to be made. Pictured to the right: “The Victim”.
As I dropped the potentially ruined 6-month-old paperweight into a sealable container of white rice, it dawned on me. I work in the plastics industry. We make drying equipment designed to dry very saturated, hard-to-dry material. While I couldn’t drop my daughter’s smartphone into one of our machines and set it for super dry, I did realize I had a better idea.
In my industry, there are a few principles of drying plastic material that I could apply to my smartphone situation. Scaling it down to household items was going to be tricky but I had a plan.
Here’s what I did to save my daughter’s wet iPhone.
- The first immediate thing I needed to do was SHUT THE PHONE OFF! Electricity and water do not mix well and the current flowing across the wet circuit board in your smartphone can permanently damage it. Furthermore, DO NOT charge it wet!
- Then dry it completely externally. Avoid the temptation to “shake” the water out. This can drive water deeper into the phone and further into the circuitry.
- If you have a smartphone that has a removable back, such as a Samsung remove the back and take out the battery. This can be the step that saves the phone if you can do it. Apple smartphone owners, there’s still hope. At this point, I assume you will not be taking it apart if you can’t.
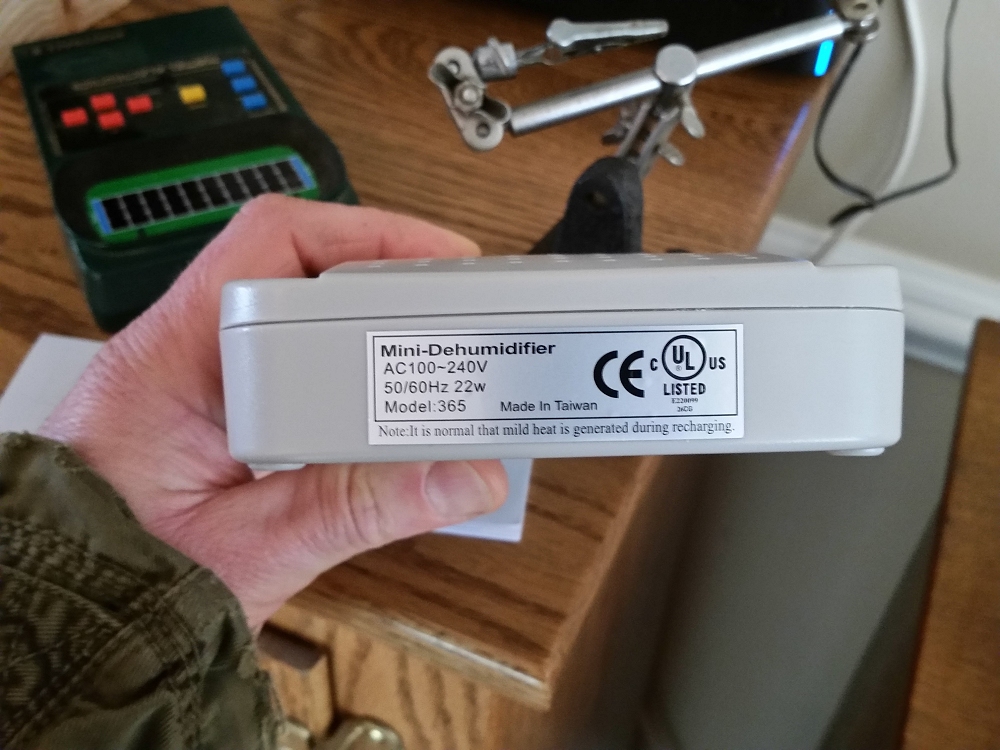
- Remove the Moisture with the Science of Plastics – Now, this is one of those steps that comes from my years of knowledge in the plastic industry. If you have one of these things, go get it now. This is a desiccant mini-dehumidifier. They’re used in safes to extract moisture out of the air. Most mini-dehumidifiers plug into the wall and dry themselves over a period of hours. (Follow the manufacturer’s recommendations on drying out the mini dehumidifier.) If yours is ready to go, showing dry desiccant, move onto the next step (if it’s not dry, dry it now). If you don’t own one order one. Keep it in your safe to keep your important papers dry. If you don’t have a safe, you should get one to put your important papers and money in.
 Desiccant itself needs to be dried. Hoarding those little Desiccant packs will do very little to dry your phone when the time comes because when you need them, they will be saturated with ambient air moisture and you’ll have no way of drying the desiccant.
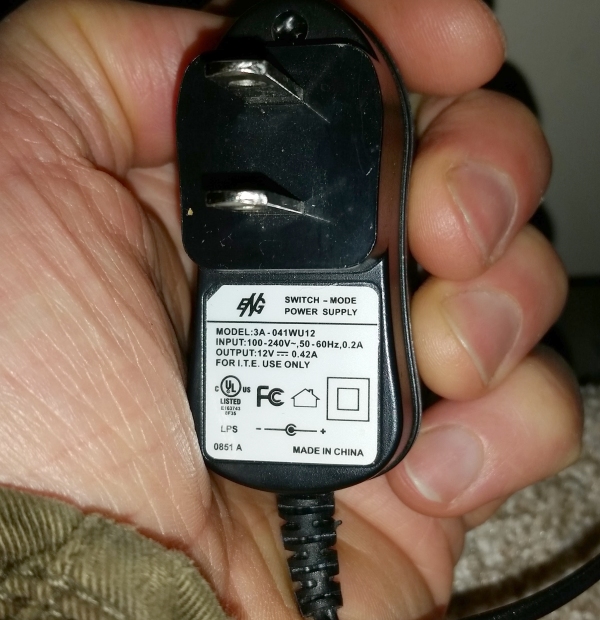
 - Dry with Warm Heat – While your desiccant mini dehumidifier is drying, or while you are ordering one, use this step to start the drying process. Find a warm electronics device running in your house. A cable modem, or cable box, or DVD player, or a cable router would do the trick. The key is you want something that will be warm all the time, 24/7. Set the phone down on the warm device; I’m using a cable box here in this photo. Set up a fan in front of the phone and blow air across the phone. The science here is that water molecules expand apart with heat, creating evaporation. The fan moves the evaporated moisture away from the phone, hopefully out the same holes that it got in through. I’m using a fan I made last summer out of an old computer’s CPU fan and a 12-volt power supply, stuff I had. Any small fan will do but it may be running for a while so get a small quiet one. My fan is held up with a little stand I use for small projects. This fan is NOT the final step. A fan alone will not dry your phone adequately. You need that desiccant mini dehumidifier dryer.

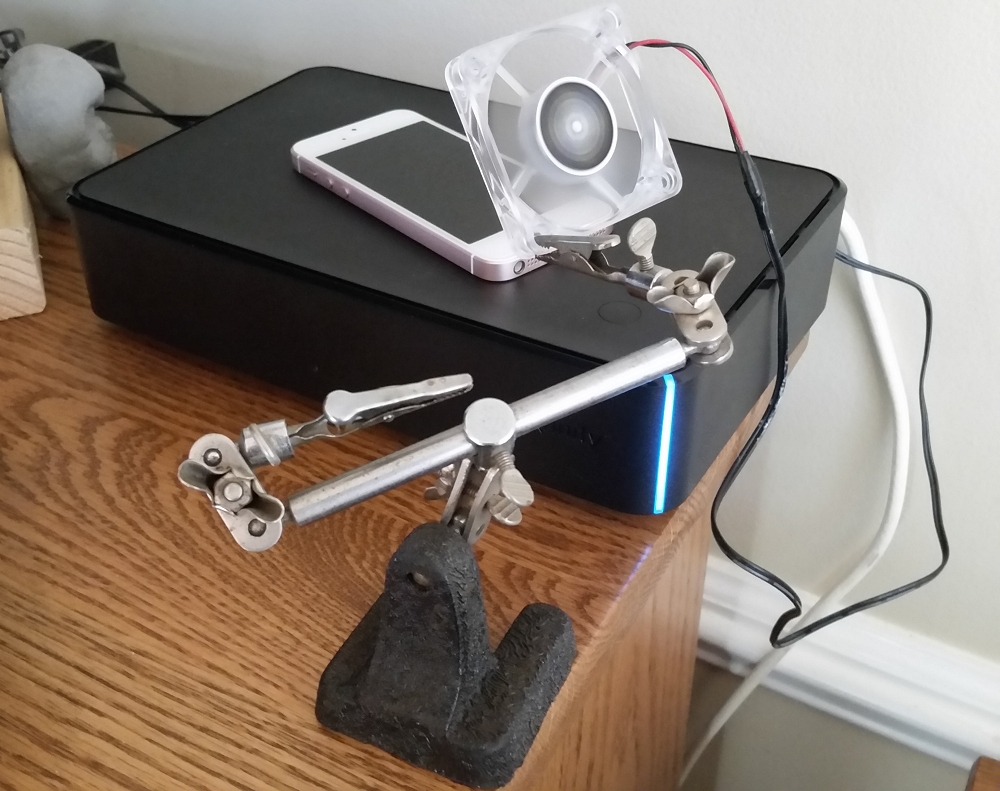
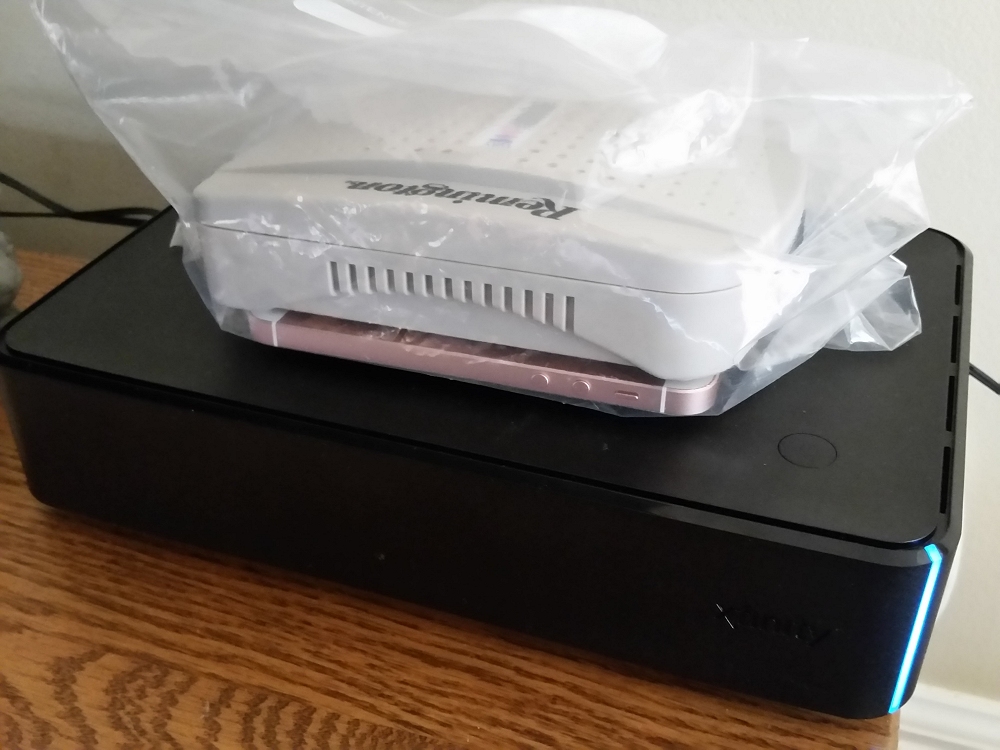
- Use DRY Desiccant – When you get that desiccant mini dehumidifier dryer, this is the most effective step right here. Make sure the mini-dehumidifier is dry (most have some kind of moisture indicator, this one uses color. Put the fan aside. Seal the phone and the mini-dehumidifier in a large, clean ziplock bag. Put the bag and the mini-dehumidifier on top of the warm electronics device as shown with the phone under the dehumidifier. Leave it set for a while. Like days, even a week or more depending on how wet it got. If you have a phone that has a removable back cover, put it all in the bag safely and dry it all, battery phone cover. The longer you wait the dryer it becomes. Desiccant is one of the best common materials to absorb moisture, which is why the plastics industry uses it to dry material like PET (your soda bottle is made from PET and moisture would make it cloudy).
- I left the phone in the bag for one week before I even thought about turning it on. I probably could have tested it sooner but I wanted to be sure it was dry, and I wanted the lesson to sink in if you know what I mean.
Why this Works
Here’s the layman’s science of it. As moisture in the phone is warmed, the water molecules expand causing evaporation. The desiccant absorbs the moisture in the surrounding air (the air sealed within the bag) making the air very dry. The very dry air wicks more moisture out of the phone. Any moisture that escapes the phone, is then absorbed by the desiccant. Over time the moisture should be wicked out of the phone and into the mini-dehumidifier. It may take a while, but what would be worse, going without your phone for a few days or permanently damage it? If you try this, hopefully, these tips will help you save a wet smartphone.
For more Cheap Tricks and Useful Tips:
Cheap Tricks and Useful Tips