
If you’re like me and you’ve owned many offroad vehicles over the years, you’re probably equipped your latest offroader acquisition with hand-me-downs from the previous generation 4×4’s. For me I’m either trying to save money or make use of something removed from the trade-in. The problem is after years of wear and tear, equipment eventually starts looking old, starts to malfunction or technology has marched and I’m soon looking for upgrades. That was the case recently with a set of LED lights transfer from a previous 4×4 over onto Project Rubicon X.
Having a set of LED’s that can be quickly and easily toggled on and off is a great asset both on the road and off the road. In my every day driving they’re great for spotting that deer in the side brush before it’s spooked by the hum of my mud tires and darts out in front of me. My lights have paid for themselves many times over.
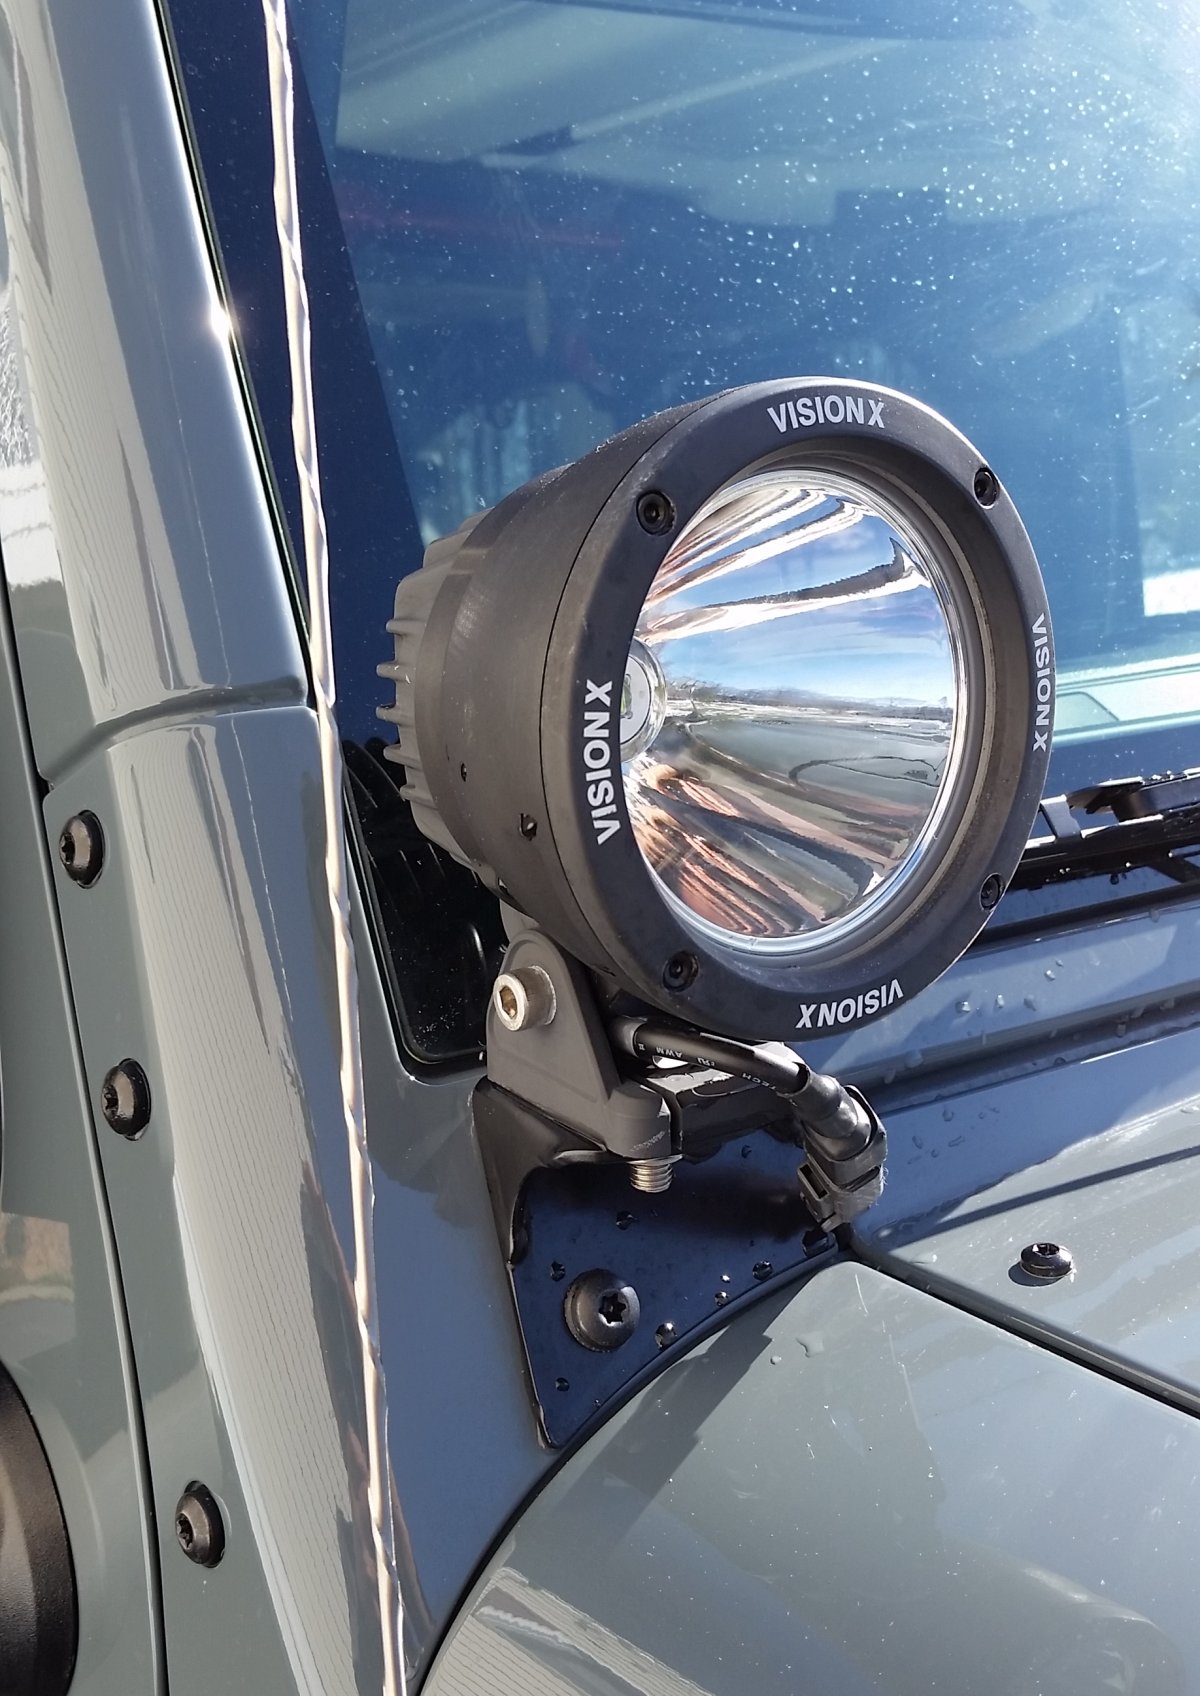 My Vision-X LED lights have been a great set of LED lights mounted up on the windshield hinges of the Rubicon. Transferred from a previous 4×4, these LED lights have served me well for years not only off-road but have brightly lit the way though Pennsylvania back roads where the deer have been known to jump in front of you at the last second. But after years of exposure, it was time for a new set of LED’s to replace my weather worn single diode 25 watt LED lights. I had a few requirements. First and foremost I wanted quality. There is a literal FLOOD of China-made LED lights hitting the U.S. market for ridiculously low prices and I can’t say I haven’t been enticed by some of the cheap lighting options I’ve seen. But you usually get what you pay for and I’m done with wasting my money on cheap junk. Power was another requirement. The Vision-X set projected a lot of light and I needed at least that amount of light or more. Maybe much more. The lights would also have to be compact in size so that I could mount them up on the hinges again without interfering with my wiper blades, a problem I have now with the current set where I’m unable to lift the passenger wiper off the windshield without scraping against the light. Smaller than the current set would be nice.
 After reading positive reviews and getting some opinions off the forums, I finally decided to take a look at a family-owned company out of Florida called Black Oak LED who makes a variety of LED light bars, light pods, rock lights, controllers, brackets and mounts. Their website has a bit of an education on LEDs and the differences in the Cree and Osram LED. The light that would best fit the application on Project Rubicon X was going to be the 2-inch POD Light in a flood pattern. I opted for the 40w CREE XM-L2 LED configuration. The dimensions for a 40w light were quite compact at 3.2″ wide x 3.8″ tall x 3.25″ depth, dimensions that would be far more compact than my existing lights. Aside from high quality LEDs, your choice between the 10w Cree XM-L2 LED and the 5w or 3w Osram LED, other features that sold me on these lights were a military grade breather that allows equalization of a pressure differential inside the light housing, stainless steel hardware, use of the waterproof Deutsch electrical connector (I use those now and they work great), and a heavy duty waterproof aluminum construction. So I place up an order and waited.
Black Oak LED – First Impressions
When the box arrived, the first thought that came to mind was big things come in small packages. As I said before, my history with off-road lighting products has been more to the larger side of sizes and I’m still getting used to the performance today’s of LED technology. Below are some of the key points that we noted.
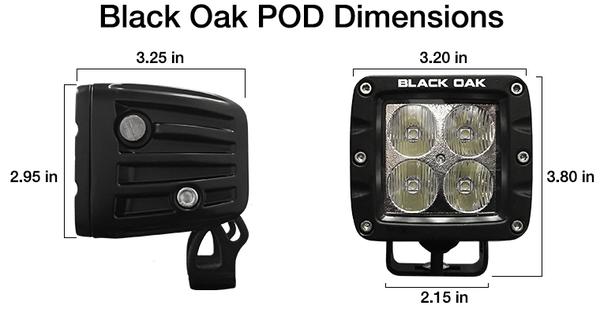
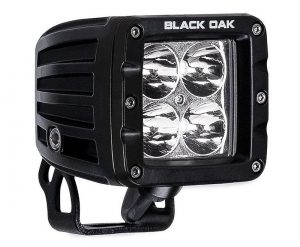
One of the first things I noticed size! At 3.2 inches wide, 3 1/4 inches deep and 1 hair over 3 3/4 inch tall off the base, these Pods are very compact. Coming from the days of 55-watt halogen, H.I.D. and large parabolic reflectors I have to get used to compact lighting power. With LED power and efficiency in converting energy to light this design is able to cram 4 high-power LEDs into a very compact light. I already see a use for these lights in other locations of the Jeep.
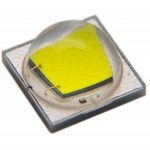
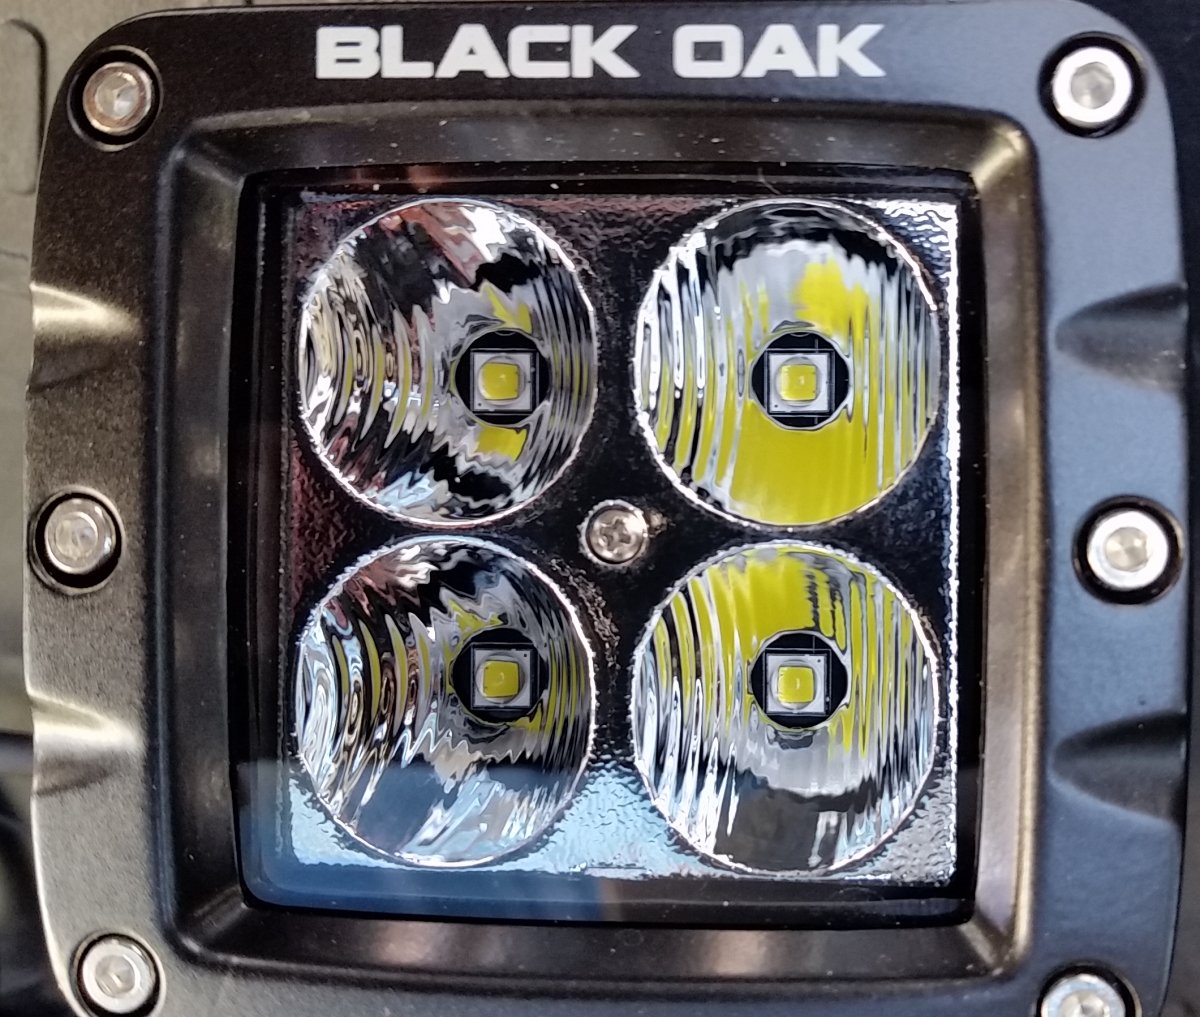
40w CREE XM-L2 LED configuration consisting of four extremely bright CREE XM-L2 LEDs compacted into a 2-inch POD. The parabolic reflector surface of each CREE has a unique shape that appears to be designed to reflect light in a horizontal spread of equal light.
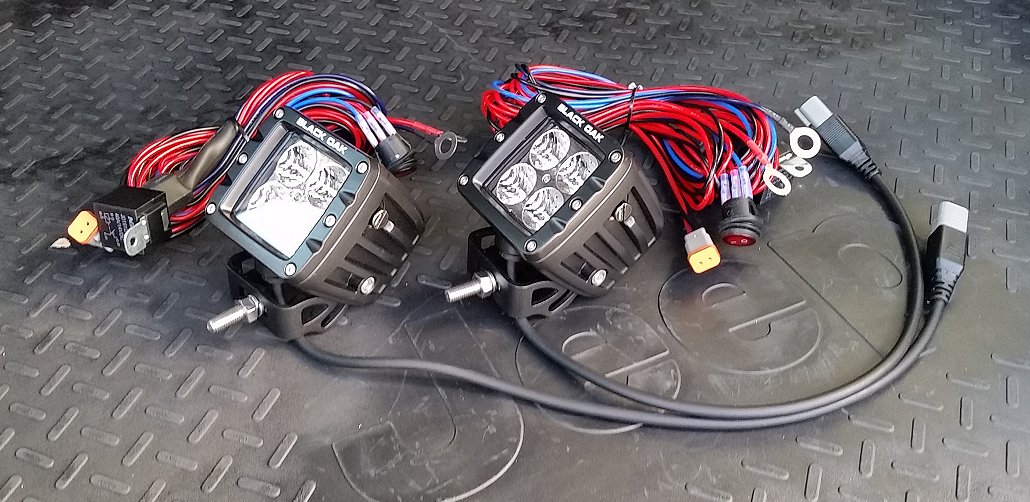
Each 2 Inch POD Light, and we order two lights, includes a complete wiring harness with a built-in fuse, relay, & switch. The kit also includes the mounting brackets that are integrated into the light housing and the hardware needed install the lights.
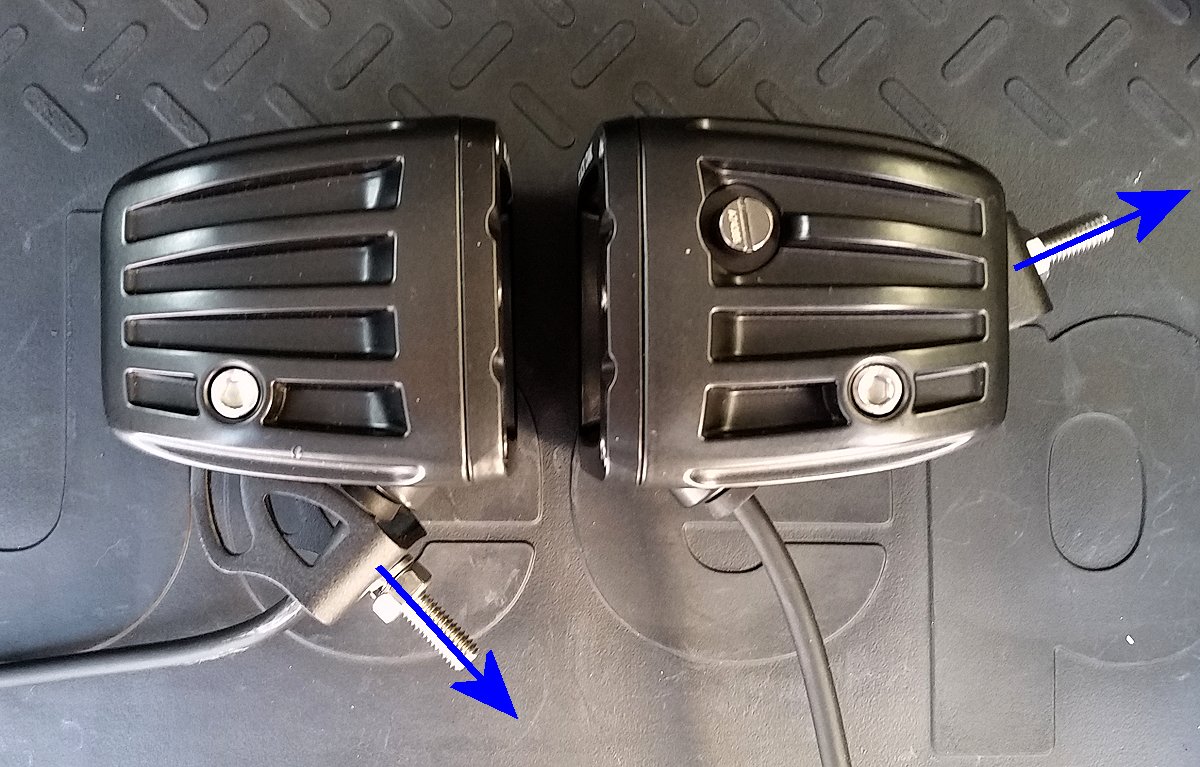
Unlike my previous set of LED lights, these Pods have an integrated bracket that swivel nearly 180 degrees allowing for a wide variety of mounting options. These lights are going to be mounted on a set brackets mounted on the windshield hinges. With this design we could face mount the lights on a vertical surface and the brackets would accommodate may angles.
We also like the Weather-Sealed Deutsch Connectors and the Military grade breather on each Pod.
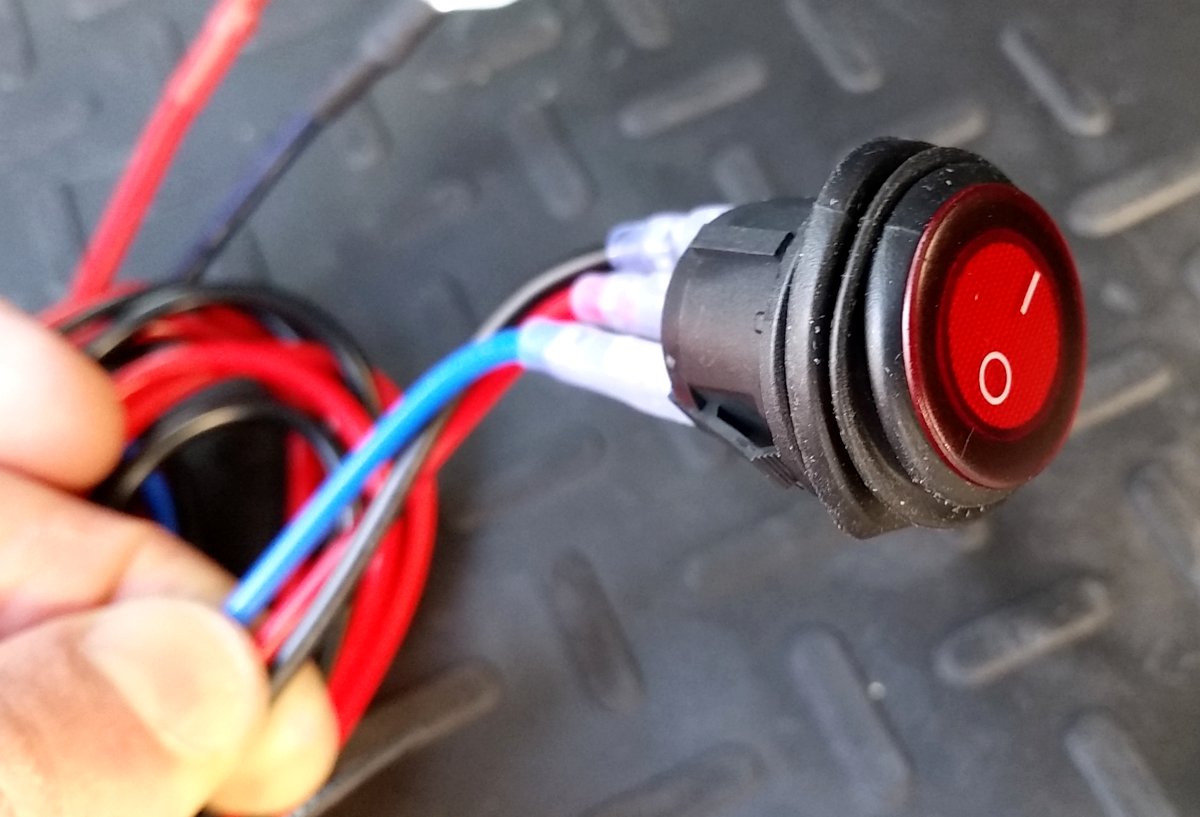
The weather sealed, lit-when-on switch look like a quality, easy to use switch with a good looking appearance.
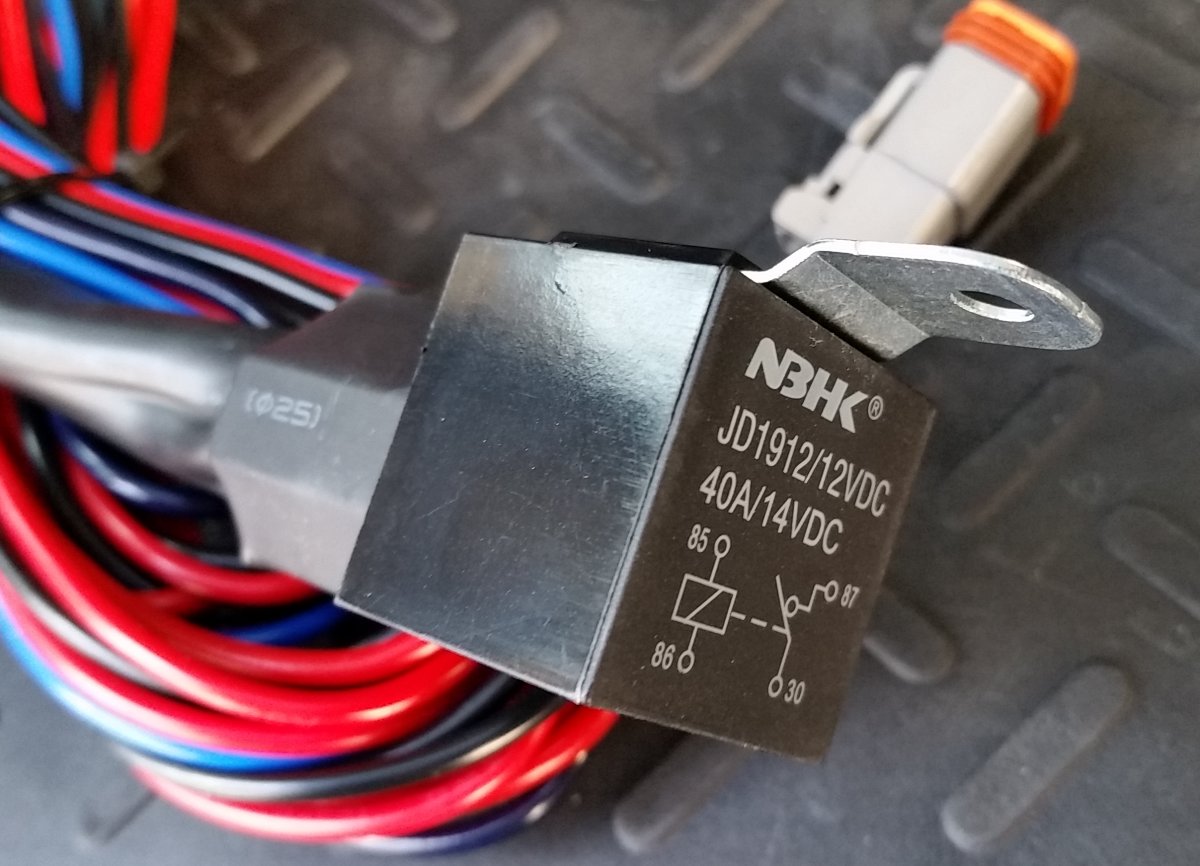
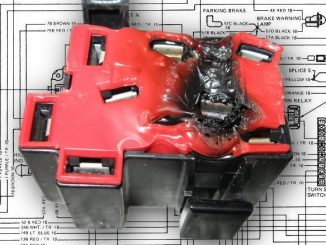
The NBHK 40A Power Relay is a quality relay. Each wire harness has it’s own relay.
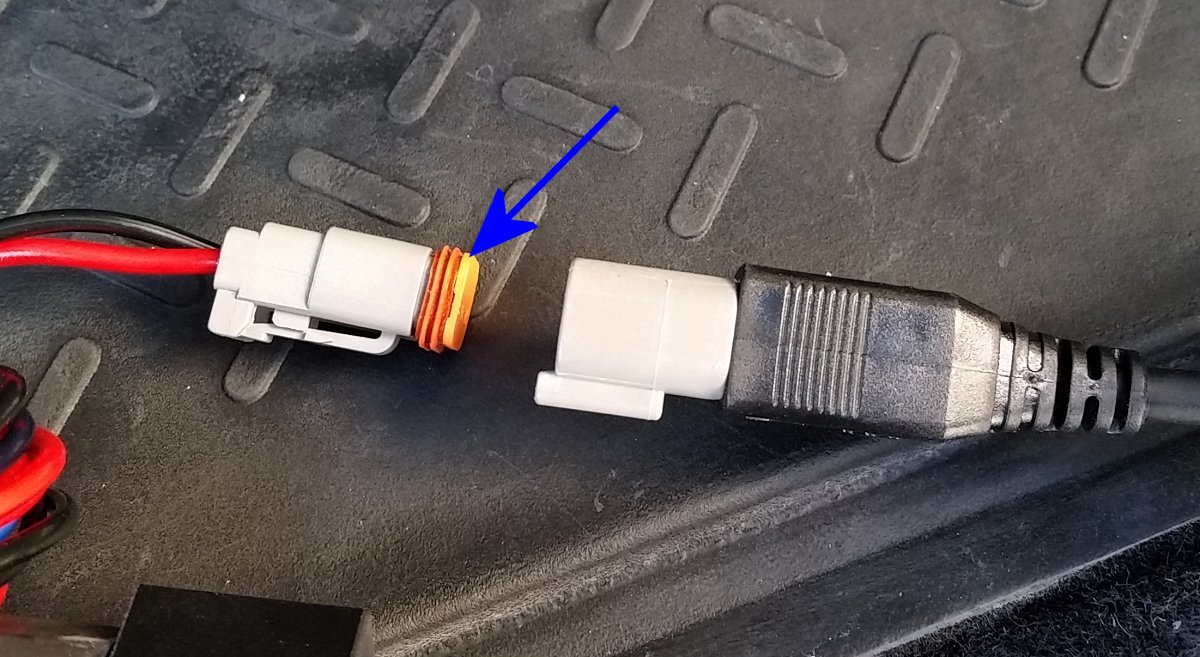
The waterproof Deutsch electrical connector is a great electrical connector to use on the exterior of a vehicle. Double-sealed from the weather with a silicone seal, the connector is easy to disconnect if needed and very durable. I’ve used these with other lights and they last the test of time.
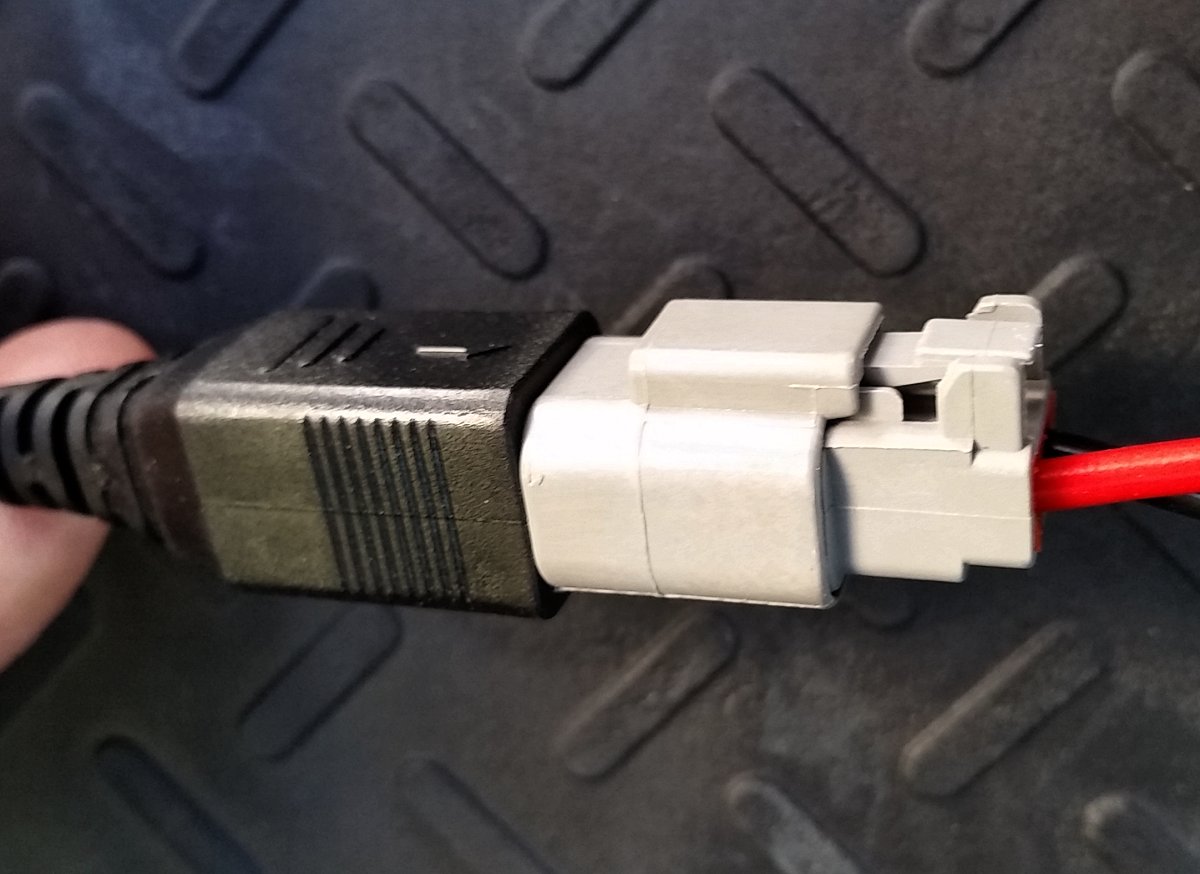
Waterproof Deutsch electrical connector engaged.
With the simple, easy to follow instructions in hand, we were ready to get these lights onto the Jeep.
Up Next: Installation