
Project Jeep CJ-7 – Fabrication of a Saginaw Gearbox Brace


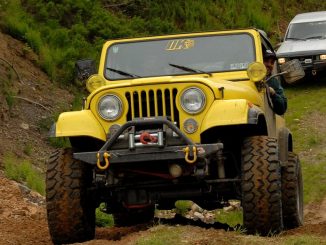
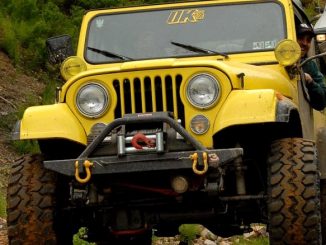
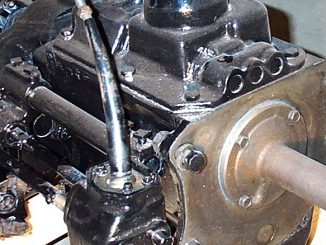
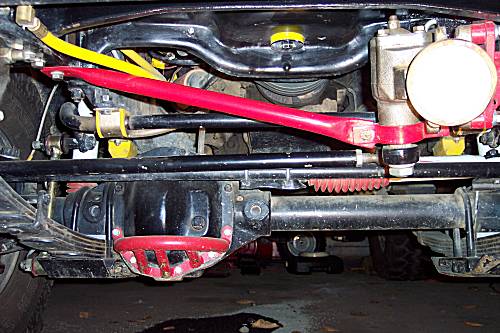
An upgrade to the steering system to deal with the additional force applied by the new AGR Superbox 2 and AGR pump was a brace for the AGR gearbox. I had already installed an aftermarket heavy duty gearbox mounting bracket and I wanted to brace the box a little more with a gearbox brace. For the Jeep CJs, I’ve seen two type of braces, one brace that clamps to the face of the gearbox and another that clamps to the neck of the gearbox where the pitman arm attaches.


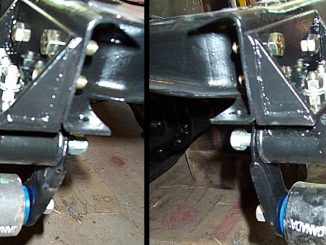
Aftermarket Gearbox Mounting Bracket
In my opinion the better brace is the one that braces where the applied force pivots and that is at the output shaft of the gearbox. As I was prepared to purchase of of these braces, I was looking at pictures of them and realized, it’s such a simple brace that I could easily make one and save about a hundred bucks.
The parts I needed were quite simple and no welding was required. All I needed was a 1 ¼” diameter steel tube (thick walled is better), some stock steel at 1″x¼” around a foot long and 3 pair of grade 8 nuts and bolts. That’s it besides a can of spray paint. The process of making this brace went something like this: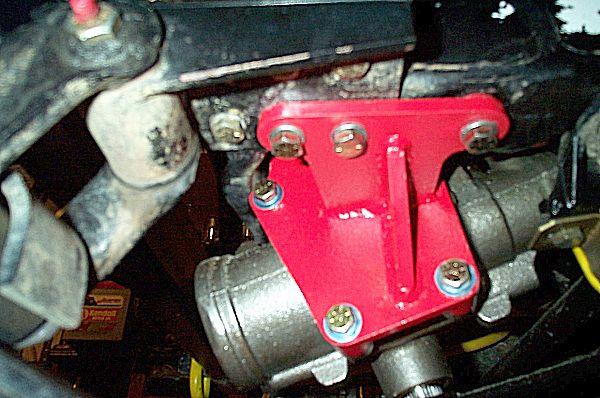
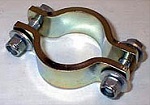
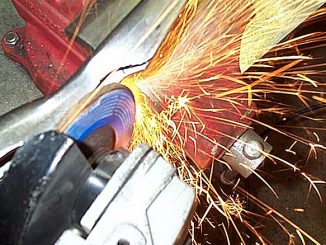
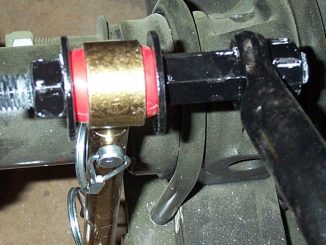
First thing was to make up the clamp that is pictured to the right. This is the tough part relative to the other steps and may take a few tries to get it right. I used my vice and a hammer to bend these two halves around a piece of scrap tubing that had the same diameter as the neck of the gearbox where it will clamp around.
DO NOT hammer it around your gearbox! Use something you don’t care about like some scrap steel.
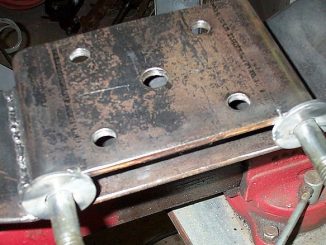
Be aware that you will be bolting this around your gearbox neck just above the pitman arm and the pipe that runs up to the frame rail will be flattened on the one end and sandwiched in between the 2 halves of the clamp. So just make sure you allow for that pipe to be there and still be able to clamp down on the neck of the gearbox. Then you drill holes though it as pictured to the right.
Once you have the clamp made, the next step is to make the pipe. The pipe which basically is the brace, runs from the neck of the gearbox (held to the neck with the brace), to the passenger side frame rail. I cut a piece of “black pipe” used in plumbing (I think for gas lines too) which I bought at the hardware store. I then cut it a little longer than what I’d need. Hold it up to see what that length is. The trick here is to flatten the pipe at the clamp side and drill a hole through it so it can be bolted between the halves of the clamp. Don’t make your tabs in the clamp too short or you won’t have enough to drill and bolt through.

The next step is to run the pipe up to an unused threaded hole in the frame rail with it bolted loosely to the clamp and attached to the neck of the gearbox. Estimate the area where you need to flatten the pipe and take note of the angle of the area you need to flatten. The angle will be about 90 degrees off of your other flattened area at the gearbox.
Note: you should have an unused threaded hole in the frame rail. If for some reason you do not, you can remove an existing bolt in the area across from the gearbox and get a longer, grade 8 bolt and use that hole instead.
Unbolt the clamp from the gearbox and flatten the other end. Again, make sure you get the right angle of the flattened area so it will lay flat on the frame rail over an existing hole (or re-used hole).
Next, re-bolt it all up again. You may need to do this a few times to hammer the flattened area exactly how you want it.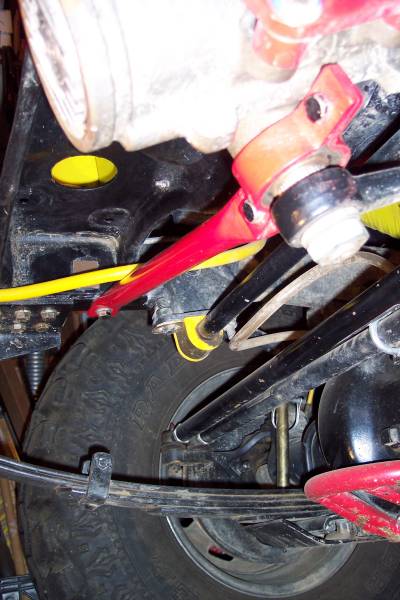

The next step is to bolt it all up again and center punch a mark over the hole you will use. Then disassemble it again and drill a hole in the flattened pipe.
Finally, paint it, and bolt it up a final time.
The only difference between this and the one you can buy for about 100 buck is that the one you can buy uses two bolt holes at the frame rail with a steel plate welded to the end of the steel tube. My thoughts on that is if my steering box moves at all with the new gearbox mounting bracket, it’s very, very slight movement. the shearing point of a 7/16″ grade 8 bolt is extremely high, in the 10’s if not 100’s of thousands of pounds. IF I ever reached that point, something else is going to break, not this bolt.
Overall this project took only an hour or two minus dry time for the paint. An hour or two of my time to save 100 bucks is worth it to me. I’ve used the Jeep hard since then and the steering gearbox has been rock solid.