Fabricating Custom U-Bolt Plates with Skid Protection for Project Jeep CJ-7
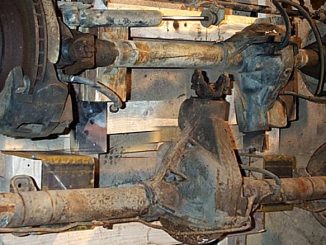
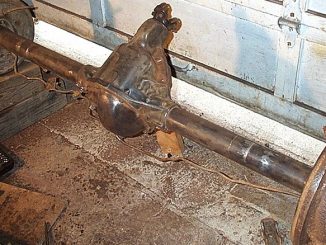
With the job of a Dana 44 axle swap to the project CJ-7 came the need for new u-bolt plates. Two things made stock u-bolt plates un-useable. One was that the axle tube diameter of the Dana 44’s were larger than the stock CJ-7 axle tubes, and two I was using Wrangler leaf springs (BDS 3½” springs). This meant that the front springs that would have been 2″ wide in a stock CJ (front springs only) were now 2½” and the axle tube that would have been 2¼” on a Dana 30 were now 2¾”. It was apparent that stock plate wouldn’t cut it. I probably could have used Wrangler u-bolt plates and reamed the holes into oblong holes but why would I pass up the opportunity to get creative.
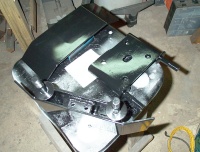
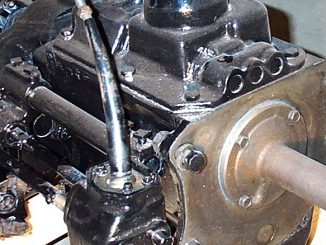
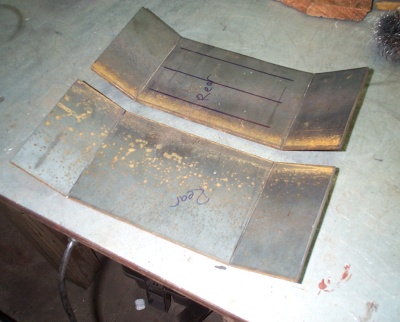
The first order of business was to get some basic plates cut so that I could mount the axles. Months ago I had already grabbed some scrap metal thingers that looked like they could eventually be something. One is pictured below. They were ¼” steel and had bends in just about the right places. Using these pieces of scrap steel the large flanges were cut off and holes drilled to match the axle tube width and the leaf spring widths. Also a center hole was drilled for the leaf pack bolt. They were bolted up and that’s how it was for the past 6 months or so while frame work was being done.
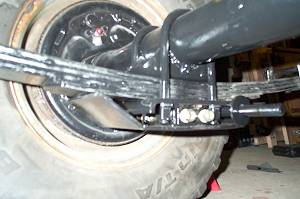
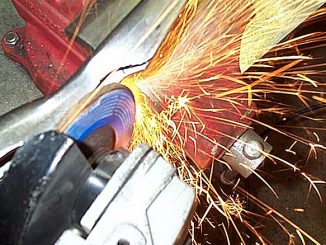
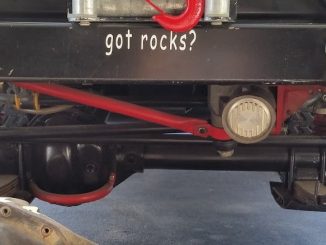
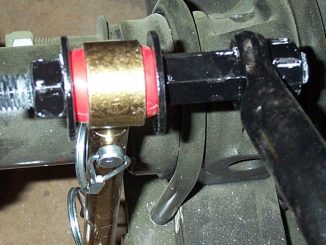
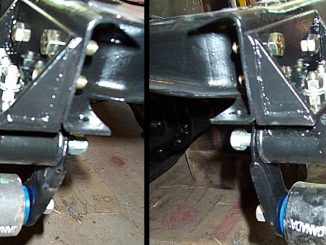
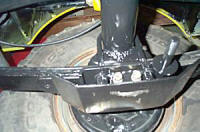
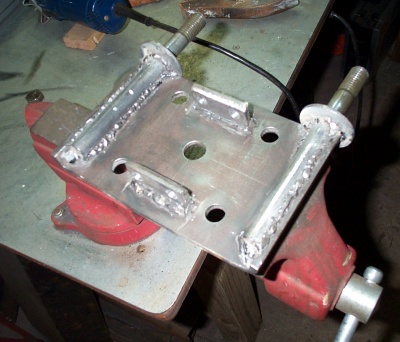
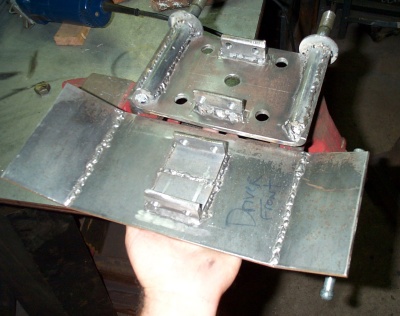
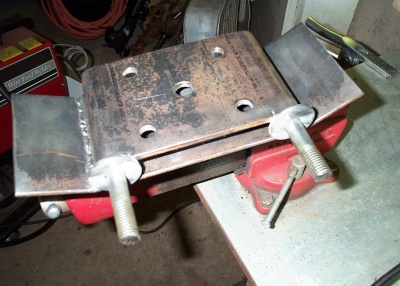
Just recently it was time to finish up the job of fabricating some custom u-bolt plates. One of the first things I did was buy some long bolts that had a shaft diameter that matched the bushing on the shocks. Using the original CJ-7 u-bolt plates as a guide and adding a little modification to them I took measurements and test fitted on the Jeep. The grade 8 bolts were then cut to the length I needed (basically cutting off the bolt head and excess threads). These were then welded at either end (for the front) with the threads detruding out the end just as far as the stock shock bolts. Also a large washer was welded to the bolt and plate to protect the shock bushing. This takes care of the swap bar and the shocks. While I was at it I welded in the flanges for the skid plate taking into consideration clearance for the u-bolt nuts. I also figured out the minimal distance between the u-bolt plate and the skid plate.

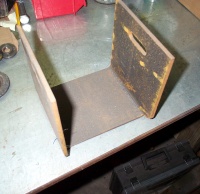
Next order of business was to use a piece of aluminum to make a template for the skid plates for length and angle. These skid plates would be bent on an angle upwards towards the leaf springs and bolted to the u-bolt plate. More scrap steel was used for the skid plate. These pieces I found were the right width for the skid plates and only required to be cut to length. I can’t say enough about finding a local steel shop and inquiring about scrap metal. Most shops will probably have a dumpster they use for disposing all sorts of scrap steel of various lengths and shapes. You never know what you’ll find.
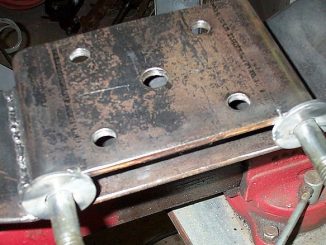
Once the skid plate pieces were cut to length, I cut a relief cut into the steel where it was to be bent. This cut was only half way though the steel and was on the inside of the bend. Then using a vice and a large adjust wrench, I made the bend. when I had the bend at the angle I wanted, I ran a weld bead across the cut to close it up and strengthen it. I could have ran it down to a local steel shop to have it bent but this method was quicker and I didn’t have to bug the shop guys.

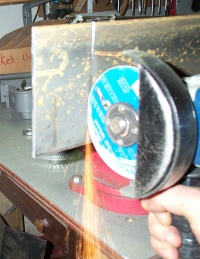

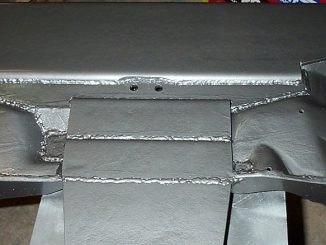
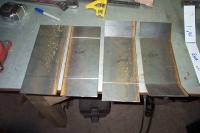
Below is all four skid plates in different stages. The rear plates were shorter than the front plates.
With the skid plates bent, I then welded a few tabs onto the plate that fit inside the tabs of the u-bolt plate and holes were drilled. That was pretty much it. They were test fitted, removed, cleaned and painted.
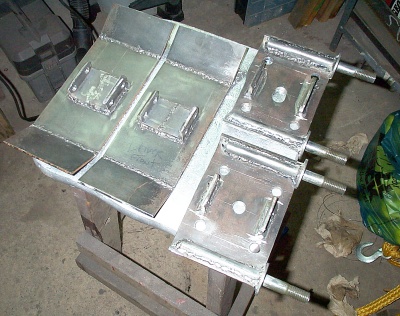
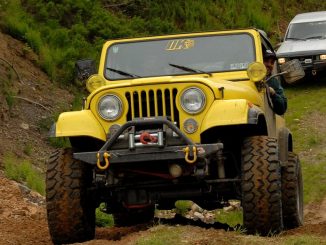
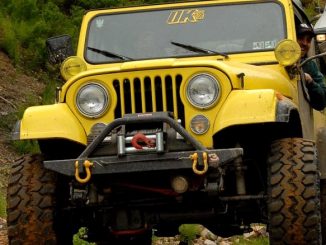
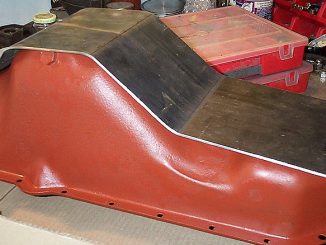
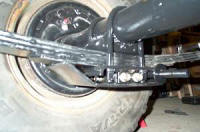
FINISHED PRODUCT: