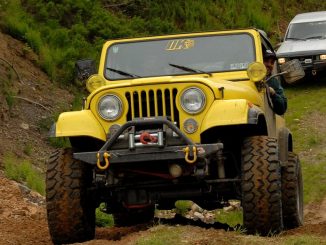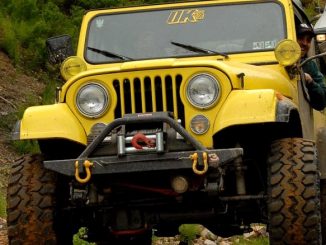

Project Jeep CJ-7 Installation:
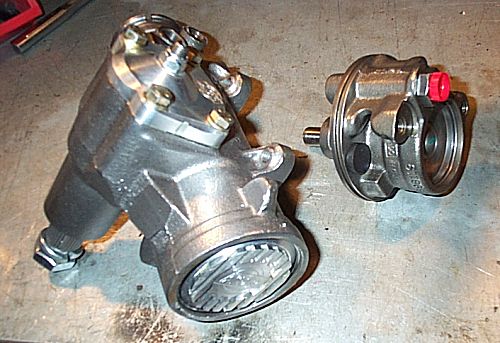
AGR Saginaw Power Steering Gear
AGR High Performance Pump
This documentation is meant to assist you in your installation and provide a few recommendations. Be sure to READ and FOLLOW the manufacturer’s installation guide as it will detail in more depth the procedure of installing the AGR Saginaw Power Steering Gear and AGR High Performance Power Steering Pump. Here is AGR’s installation Guide.
See below for a good tip before ordering your AGR Saginaw gearbox and AGR High Performance Power Steering Pump!
Why an AGR Gear box and Pump?
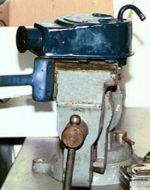
Well first of all my gearbox and pump came off of the Jeep junkyard scrap heap. While they functioned, they didn’t function well. It was time for an upgrade and my choices were factory replacement of upgrade. I had future plans for a Hydroboost braking system so the stock factory replacement pump may not be adequate. My gearbox was old and worn out and I just couldn’t get it adjusted right so that had to be replaced as well.
AGR seemed to be the manufacturer of choice in the Jeep community so I checked out the gearbox options and the high performance pumps.
AGR PERFORMANCE GEAR BOXES – SUPER BOX 2™
The AGR Super Box 2 is designed for the vehicle used as a daily driver. The AGR Superbox 2 is a custom designed Power Steering Box that is built with larger pistons to provide more brute turning power than originals Saginaw gearboxes. AGR’s Super Box 1 is set at 3 ½ turns ratio left to right, a ½ turn faster than stock CJ’s giving more feel to the steering wheel and better control on any terrain. The Super Box 2 has variable turning ratios, 3 1/8 turns left to right, almost 1 full turn faster than stock CJ’s. Custom firm sport valving is designed to give more stability at highway speeds & less oversteer off road.
AGR PERFORMANCE SUPER PUMP™ POWER STEERING PUMP
The Super Pump™ is a bolt-on replacement for the Saginaw P-series pump and is designed and manufactured to produce the maximum pressure and flow possible without affecting the pumps durability. Designed to increase flow rate by 40% at 1400 rpm while providing 1500 psi available pressure. Custom ported housing reduces flow restriction, allowing pump to run stronger and cooler. The Super Pump, when used with the a Super Box, will increase the amount of steering force to your tires by as much as 65%.
So I ordered the parts I needed including a few optional items like the Flaming River Steering Shaft and a new heavy duty Saginaw mounting bracket for the Jeep. Click here for a good tip before ordering your AGR Saginaw gearbox and AGR High Performance Power Steering Pump!
The process of installing the new AGR Super Box 2 and AGR Super Pump wasn’t too difficult.
Installation:
Inspect your new parts. Make sure you have the right parts including the right hoses before tearing your steering system apart.
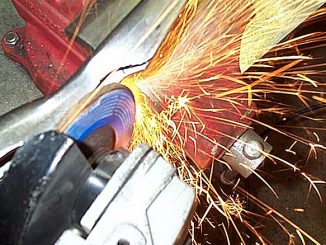
Removal of old pump and removal of old gearbox. I drained the power steering fluid from below after disconnecting the hoses at the gearbox. I started by removing the old pump, removing the belt, disconnecting the hoses and unbolting the the pump.
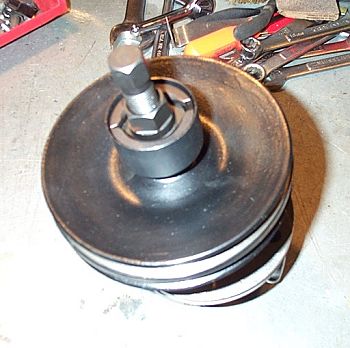
The new AGR power steering pump will reuse the original pulley.
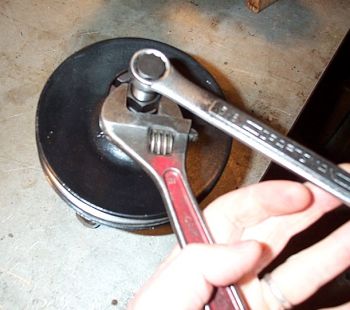
Remove the nut and use a pulley remover to remove the pulley from the pump. Do NOT try to separate it with a hammer or another puller such as a gear puller, which are not designed to remove a power steering pump pulley. If you don’t use the correct puller you will probably damage the pulley.

This particular pulley clamps over the center of the pulley with 2 halves and a sleeve drops over the halves to keep them on the pulley. Then a center bolt presses the shaft out of the pulley.
Remove the mounting bracket from the pump.
Remove the studs from the pump that hold the reservoir onto the pump.
Remove the pressure hose fitting from the pump.
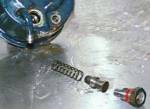
The flow control valve and spring are located in the pump behind this fitting and can be removed by simply turning the pump up and letting them fall out into your hand. Do not reuse the flow control valve, a new one comes with the AGR pump.
Hold the pump in a vice by it’s casting around the drive shaft. I used wood blocks to hold my old pump since I didn’t want to damage it.
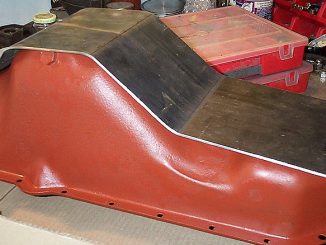
Separate pump reservoir from old pump with a soft mallet. Be careful not to damage the reservoir. The new AGR power steering pump will reuse the original pump reservoir and the original stud bolts that hold the reservoir in place.
In my case, I wanted to paint the reservoir. So prior to assembly, I cleaned, masked off and painted the reservoir and cap. If you decide to paint yours be sure to clean it well with something like Simple Green and then mask it off well to keep the paint out of the reservoir and where the o-ring seal fits into the large opening.
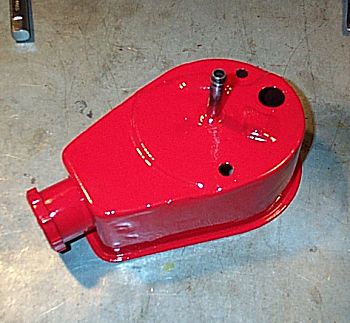
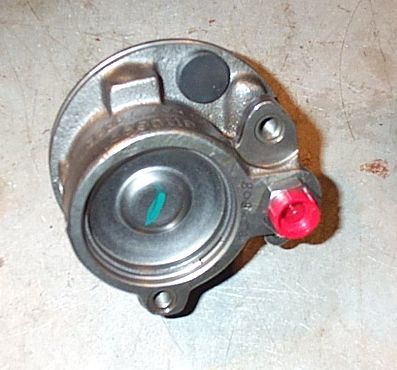
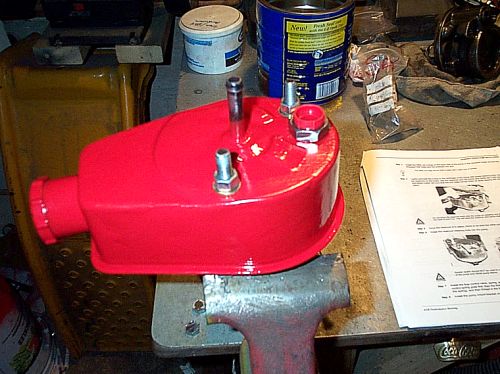
This is the AGR High Performance Power Steering Pump.
Make sure you have the right pump and the right threaded studs for your pump. All 1980 and newer Saginaw equipped vehicles were equipped with metric pumps and an o-ring type pressure fitting. 1979 and earlier vehicles were equipped with SAE pumps containing a flare type fitting. All threaded holes in a metric pump are 10 x 1.5, while SAE pumps are 3/8 x 16. You can distinguish a metric pump from the SAE pump by the last 2 digits of the number that is cast in the side of the pump. The last 2 digits of a metric casting number are 47, while SAE pumps are 19. Make sure you check this out. If you thread an SAE bolt into a metric pump, it will seem to start ok, but when you try to tighten it, it will crack and destroy the pump case.
The pressure hose fitting, whether o-ring or flare, will thread into either pump case.
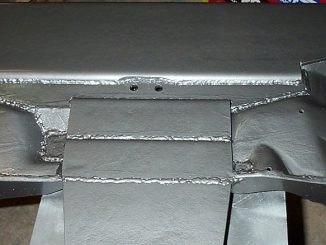
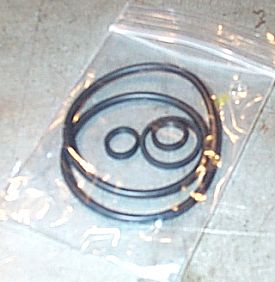
Install the O-rings.
Install the large o-ring in the o-ring groove around the perimeter of the pump.
Install the smallest, flat o-rings on the back side of the pump in the recessed areas around the threaded bolt holes and the pressure line port. You can hold them in place with a little grease.
There’s a magnet that should be with your pump. The magnet is to catch any floating metal circulating in your system. Make sure you place the magnet inside the area that will be in the reservoir on the flat area.
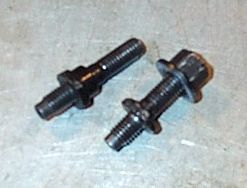
If you order a 1980 or later type pump to get o-ring hoses rather an the flare (see my tip below) and need metric studs, finding new studs might be tough. I used the threads of a long stainless steel metric bolt and nuts that I ground flatter to duplicate the studs.
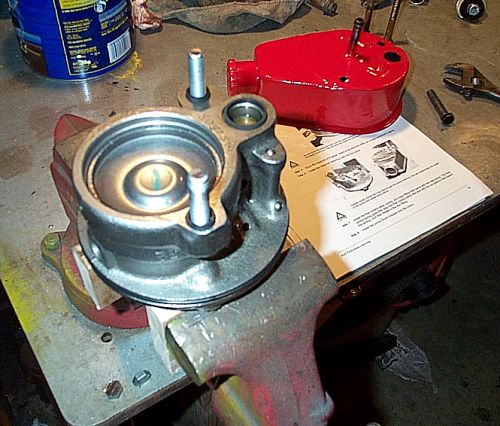
Home made studs installed. With the o-rings installed, put a light coat of power steering fluid on the o-ring on the perimeter of the pump then install the reservoir on the pump. Slip the reservoir over the pump and lightly tap it into place with a soft mallet. Be sure that the bolt holes remain lined up while tapping the reservoir into place.
Don’t use gasket sealer to seal the pump. The sealer will get in the pump and contaminate it, causing pump failure.
Install the flow control valve, spring, and hose fitting that came with the new pump. The flow control spring goes in first, then the flow control valve (the end with the nut goes in first toward the spring), and then thread in the line fitting.
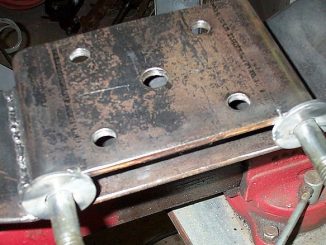
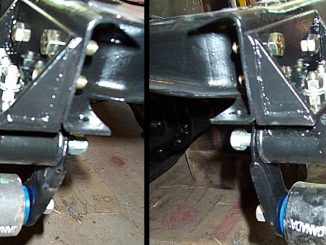
I painted my bracket and re-installed it.

Install the pump pulley onto the pump. Use the pump pulley installer to push the pulley back onto the pump drive shaft. The hub of the pulley should be flush with the end of the drive shaft for proper belt alignment.
Install the pump back into the vehicle. Be sure not to over tighten the belt. A belt that is too tight will cause premature pump failure. If you’re not sure how tight to make it, refer to the manufacturer’s specifications for the correct amount of tension to apply to the power steering belt.
Here’s a good tip:
This next section I want to make some recommendations regarding the year your Jeep is and what type of power steering hose fittings you have and what I’d recommend.
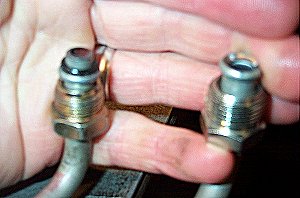
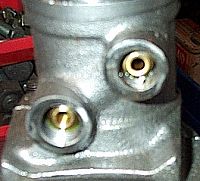
All 1980 and newer Saginaw equipped Jeeps were equipped with metric pumps and an o-ring type pressure fitting. 1979 and earlier Jeeps were equipped with SAE pumps containing a flare type fitting. See picture below for a comparison of the two type of fittings. Let is the O-ring, right s the flare type.
When I ordered my parts for this job, I decided to order according to the official year of my Jeep. However my Jeep is a mixture of parts throughout the Jeep CJ-7 years, 76 through 86. I actually had o-ring type fitting on my newer then 1980 box and pump. What I ordered was flare type hoses, a flare type Saginaw steering box and a flare fitted pump.
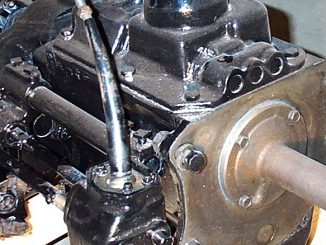
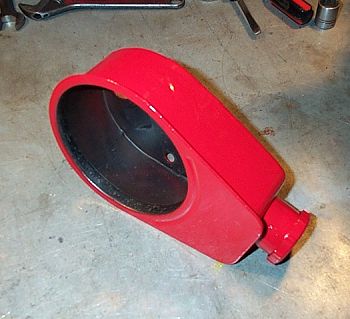
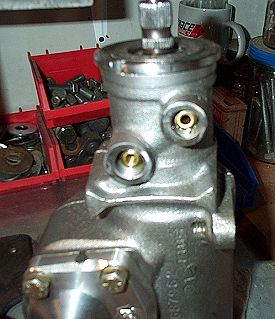
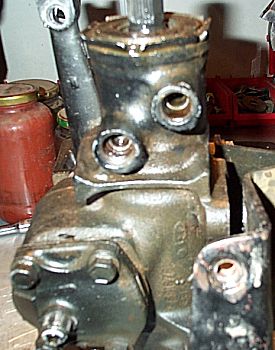
Below is the new AGR Saginaw gearbox. The fittings for the hose were flare type as you can see in the pictures.
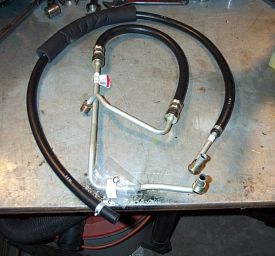
What I didn’t understand was why the threads were so shallow on this new pump. I test fitted the new hoses and it seems that I only had about 4 or 5 threads gripped into the casting (maybe less) before it bottomed out. Everything was new and nobody could explain why there seemed to not be enough threads to grip well. Additionally the threads seemed to be like NPT fittings where they tapered so if I’m not getting enough depth, the threads will not hold. But assuming the casting and hoses were correct, it has to be right. So I figured that maybe the flare would compress and I’d get a few more threads to seat it and get a good seal.
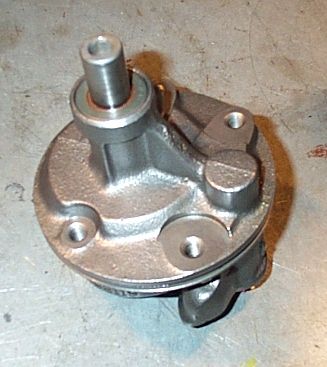
Below was my old pump. This was o-ring type fittings. The number of threads that gripped before the rubber o-ring bottomed out was more than twice as many as the flare type.

To make a long story short, I assembled everything and seated the fittings. I could NOT get it to stop leaking. Brand new pump and new hoses. I know I did not cross thread the fittings. I know the flare on the pipe was level on the pump’s seat. It would not stop leaking. I tightened it a little more and the dreaded slip of the threads occurred. Stripped threads. A stream of obscenities followed. Now what do I do? Well I took it all apart and examined the threads. The casting was ok. It was the hose that striped.
I knew the o-ring was probably the better option. So… I did what any backyard mechanic might do. I returned the AGR pump and said I ordered the wrong one. I need an o-ring style fitting. 😉 Then I called AGR and asked if the control flow valve was the only difference on the pump. It was and it can be swapped. I asked if they could ship me a new control flow valve for an o-ring style (made up some story about too difficult to ship the whole thing back to the dealer). They happily did so and charged me 5 buck!
So I ordered new hosed and went to the o-ring style.
My Tip:
If you are planning to upgrade your pre-1980 Jeep’s older style pump AND Saginaw gearbox, order the newer o-ring style pump and gearbox.
In retrospect it makes sense that to seal a leak, a new 10 cent o-ring (o-ring type) is cheaper than a 20 dollar hose (flare type) if you need to address a leak. In addition, if there is a serious flaw in the gearbox and the depth of the threads or in the factory replacement flare type hoses, you don’t want to deal with that. It’s just easier to upgrade.