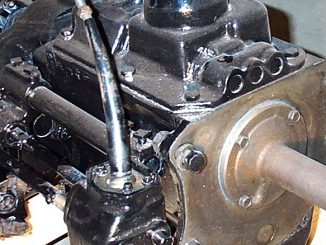

This Project CJ-7 article is about converting and armoring a Dana 300 skid plate to work with a Dana 20 transfer case.
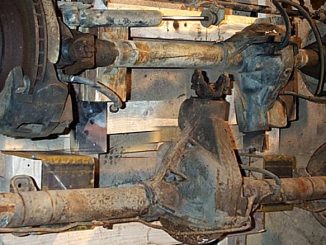
An ounce of prevention is worth a few pounds of steel. After hearing stories of mashed drive trains and flattened cross member skid plates as well as seeing 4×4’s go high center (myself included) and do damage to exposed vital organs, I decided to take preventative action. My drive train consists if a T-18A bolted up to a Dana 20. The frame I acquired was from a 1981 CJ-7 which I determined originally had a Dana 300. Therefore the skid plate was designed for the Dana 300. My T-18A bolts up to a Dana 20 transfer case which doesn’t use the same bolt hole location as a Dana 300. Also the Dana 20 doesn’t hang as low as a 300. I had 2 options. I could hunt down a Dana 20 skid plate or modify the Dana 300 skid plate I have to accommodate the Dana 20 and in the process I could strengthen and armor it. Guess which direction I chose?

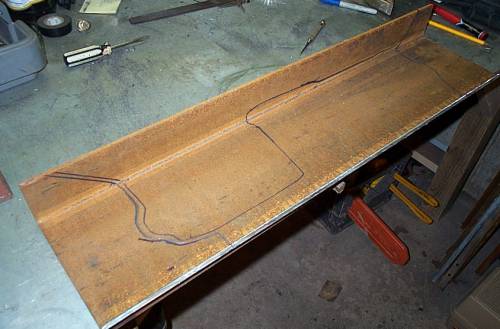
That’s right, I chose to create something. With a local friend in the business of steel fabrication, I can acquire plenty of scrap steel of various sizes, shapes and gauges all for the purpose of stock steel for these types of projects. With this skid plate project I approached it a little differently than a project that would require lots of pre-planning. The general idea was to not just modify the skid plate to accommodate the T18A / Dana 20 setup, but to also armor and strengthen it. So a step by step process of bolting it on, measuring and marking, followed by cutting and welding was used as opposed to a pre-planned type of procedure.
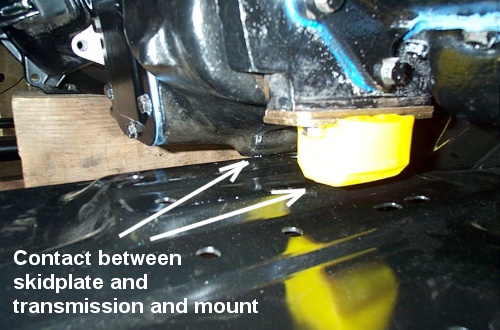
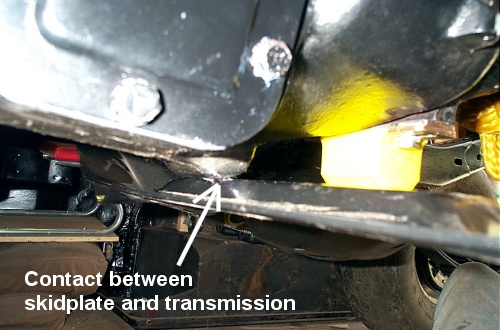
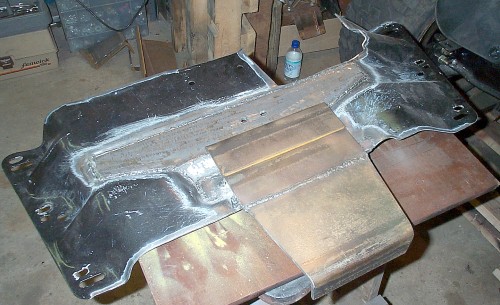
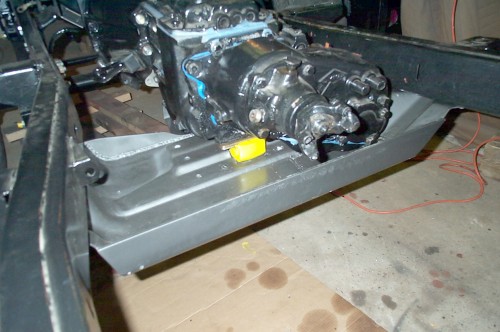
The first thing was to bolt the skid plate to the frame with the engine, transmission and transfer case bolted in. The transfer case side of the drive train was supported by a floor jack and a hand winch at a height just above where the transmission mount would contact the skid plate.
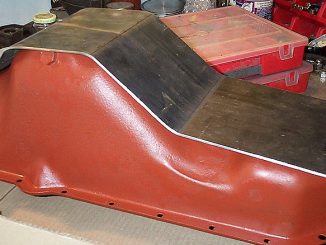
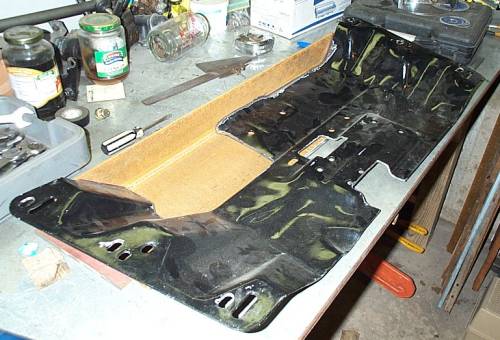
After bolting on the skid plate marks were made on the skid plate where there was contact between the transmission drain plug and the transmission mount. The idea was to cut out these contact locations to lower, level and re-enforce these areas.
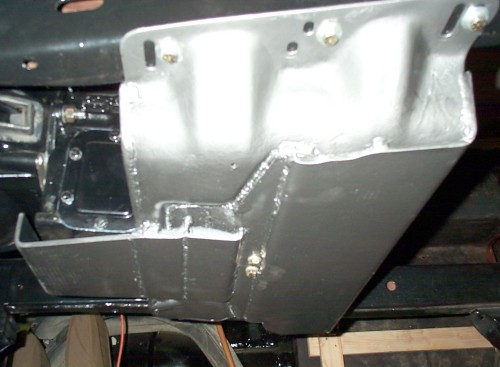
After cutting out these areas, several pieces of 1/4 inch steel were cut to fit under an inset area that would eventually support the transmission’s polyurethane mount. Because this steel is located below the skid plate, it effectively lowers the drive train slightly helping to reduce the drive shaft angle.

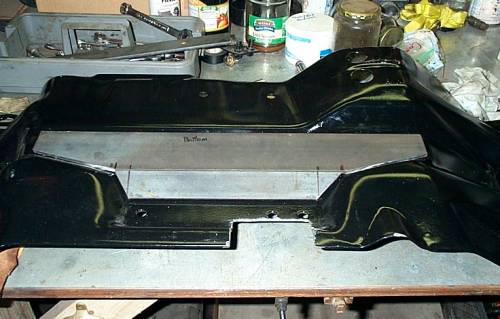
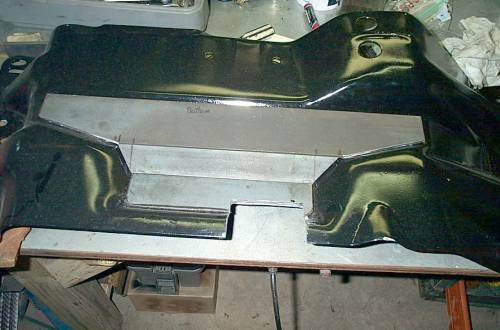
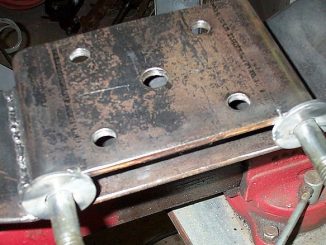
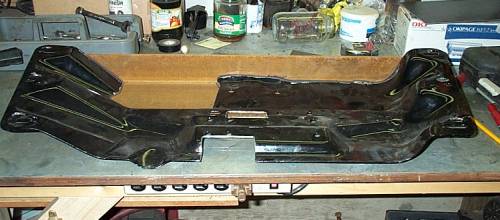
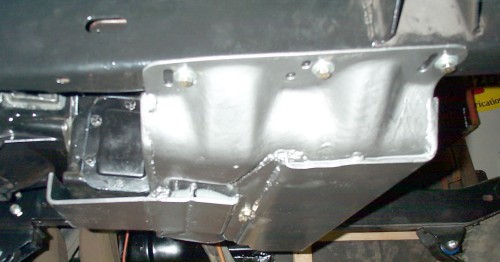
Another area that require modification was directly below the drain plug of the transfer case. The originally Dana 300 transfer case needed an extra few inches because it hung lower than the Dana 20. In this case the Dana 20 didn’t need any extra room below the skid plate. So this area of the skid plate was marked and cut out in a level section. Cutting this area out was a little tricky. I wanted to have a flat edge on the skid plate to weld a 1/4 inch steel plate to so I marked the skid plate from the bottom – level with the lowest part of the skid plate that would remain (in the rear half) and then ground off little by little to get the 1/4 inch steel as tight as possible to the skid plate.

Removal of area that hung down
New Steel
Marking and Cutting
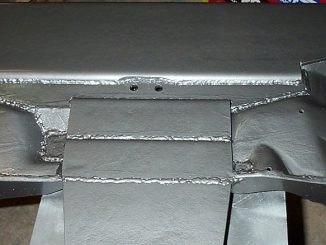
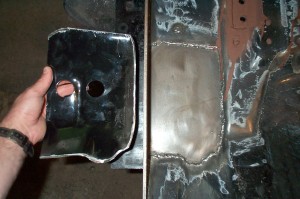
Forward of the skid plate (and partially under the skid plate) was the underside of the T-18A. The transmissions drain plug was now exposed because of the removal of some of the skid plate. 2 pieces of 3/8 inch steel combined with a large 1/4 inch steel plate extending forward and wrapping around the forward-most edge of the transmission were welded in to protect the trans from contact with the larger rocks.
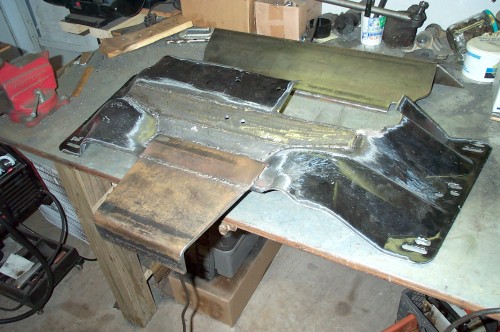


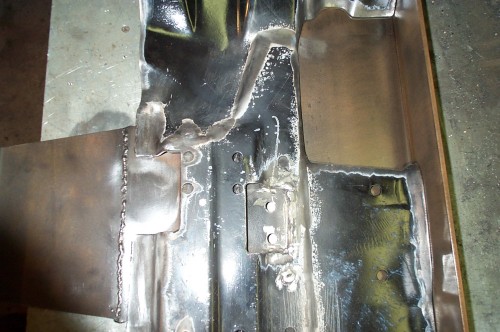
With these pieces fabricated and welded in, attention was turned to protecting the transmission mount bolts that would hang below the skid plate. Adding protection to these bolts was just a matter of extending the forward section of new 1/4 steel back to the bolts and welding it to the new steel in the inset section of the skid plate.
For extra protection in the event of a high center impact, gussets were fabricated for the forward edge of the skid plate. These forward gussets combined with the rear 1/4 plate running completely across the rear of the skid plate helps to strengthen the plate and enable it to support more weight preventing possible drive train damage due to a blow from underneath.
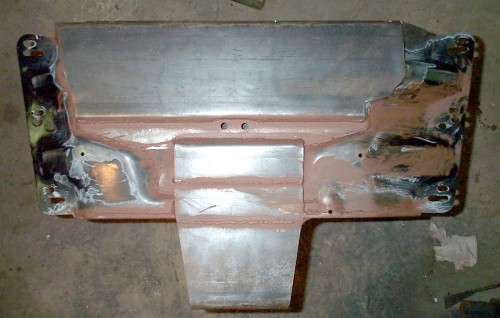
All of the new pieces of steel were then welded in followed by another test fit and marking of the bolt holes for the transmission mount. One more test fit with everything bolted up. A few holes were then drilled in the low areas for drainage. All the welds were coated with a primer followed by a complete primer of the entire skid plate. For an interesting effect and to hide those imperfections I used some Plastikote hammered metal gloss gray finish. A few days of drying and it was ready for the Jeep frame.


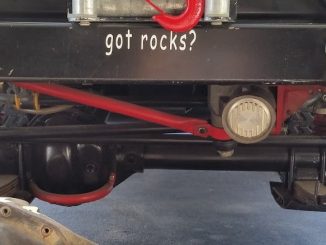
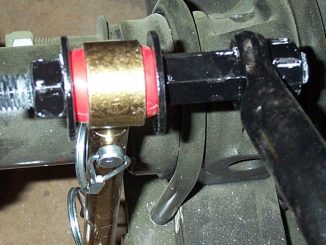
With everything bolted in, attention could be directed towards fabricating a custom anti-torque adapter that bolts from the skid plate to the passenger side of the transfer case that limits the twisting forces of the drive train. A simple angle was bolted onto the transfer cases flange designed for this purpose. A 1/4 inch steel plated with a slight bend in it was bolted to the skid plate. The angle, steel plate combo were connected together using a long bolt and rubber bushings from sway bar ends to help isolate vibration and torque from the drive train.
When it was all said and done, I had added about 30 pounds of steel to the skid plate but if you’re going to armor anything the skid plate probably should be one of the things that you don’t want to neglect. Hopefully it won’t be necessary to test the limits of my design but if I ever do, I think the several hours of designing and welding will all be worth it.


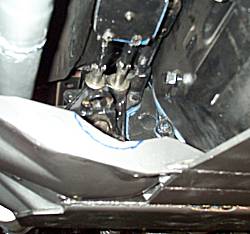
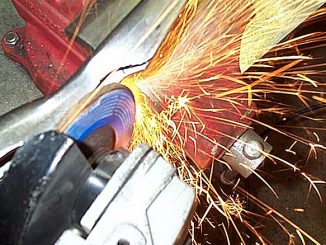
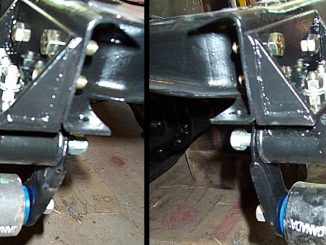
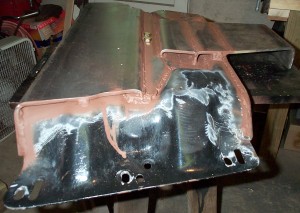
With the installation of a set of custom drive shafts the skid plate gusset needed a small amount of trimming. Using a die grinder, the area outlined in blue marker was trimmed off, them re-painted.