
If you’re looking for a high quality, super strong grab handles for your JK that will not require you to cut, drill or hack into your JK’s interior then take a look at the GraBars from Welcome Distributing. American fabricated from solid 3/4″ round stock steel, these grab bars use pre-existing bolt holes for a solid mounting location of the front and rear grab bar sets. Installation is quick and easy using minimal tools.
This set of GraBars was installed on a 2014 Rubicon X Unlimited fresh off the delivery truck.
Installing the Front Grab Handles
IMPORTANT! You’ll be using tools around your windshield. Don’t whack your windshield with the socket wrench! I hit mine once by accident. Not a pleasant sound!
The GraBars come with an easy to follow set of instructions that call for use of a few common tools. You’ll need a 10mm socket, a 4.5mm allen wrench and it would be wise to also have a set of needle nose vise grips.
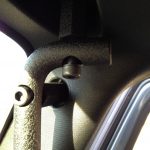
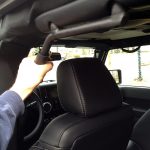
For a visual, refer to the photos to below. I started with the passenger side for no apparent reason. First, you’ll want to remove the two stock bolts (per side) in the front windshield pillar. The top bolt is easy. The side bolt is recessed back into a hollow area in the pillar. If you remove the bolt completely with a socket you’ll probably drop it down into the pillar with no easy way to get it out. So back it out most of the way and clamp down on it with a set of needle nose vice grips, then back it out the rest of the way.

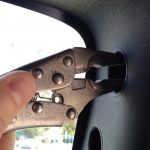

The instructions suggest installing the top bolt first. I tried that but doing so made it difficult to install the side bolt without risk of cross threading. The angles of the bolts made it a tight fit and the recessed side bolt has a slight downward angle to it. Not being aware of the bolt angle at first, I was at risk of cross threading the bolt. Here’s my suggestion:
First, install the rubber sleeves over the handles. It’s easier to do it now than after they are installed.
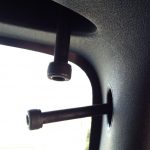
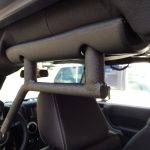
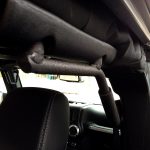
Then, use a little WD-40 on the side bolt and bolt hole and thread it in by itself. Take a visual note the angle of the bolt. Then remove the bolt and install the side bolt FIRST by hand with the hex shaped tube between the pillar and the handle. If you encounter any resistance don’t force it. Back out again and install the bolt only to make sure the threads are lined up and intact and try again. Once you get the side bolt turned in most of the way, leave it loose. Then install the upper bolt with the shorter hex shaped tube between the window frame and the handle. Again, turn this one in by hand (using the long end of the allen wrench). Once threaded in tighten the upper bolt first, then the lower bolt. The lower bolt will have an angle so it’s important to line up the upper one first to get at least one side flat.


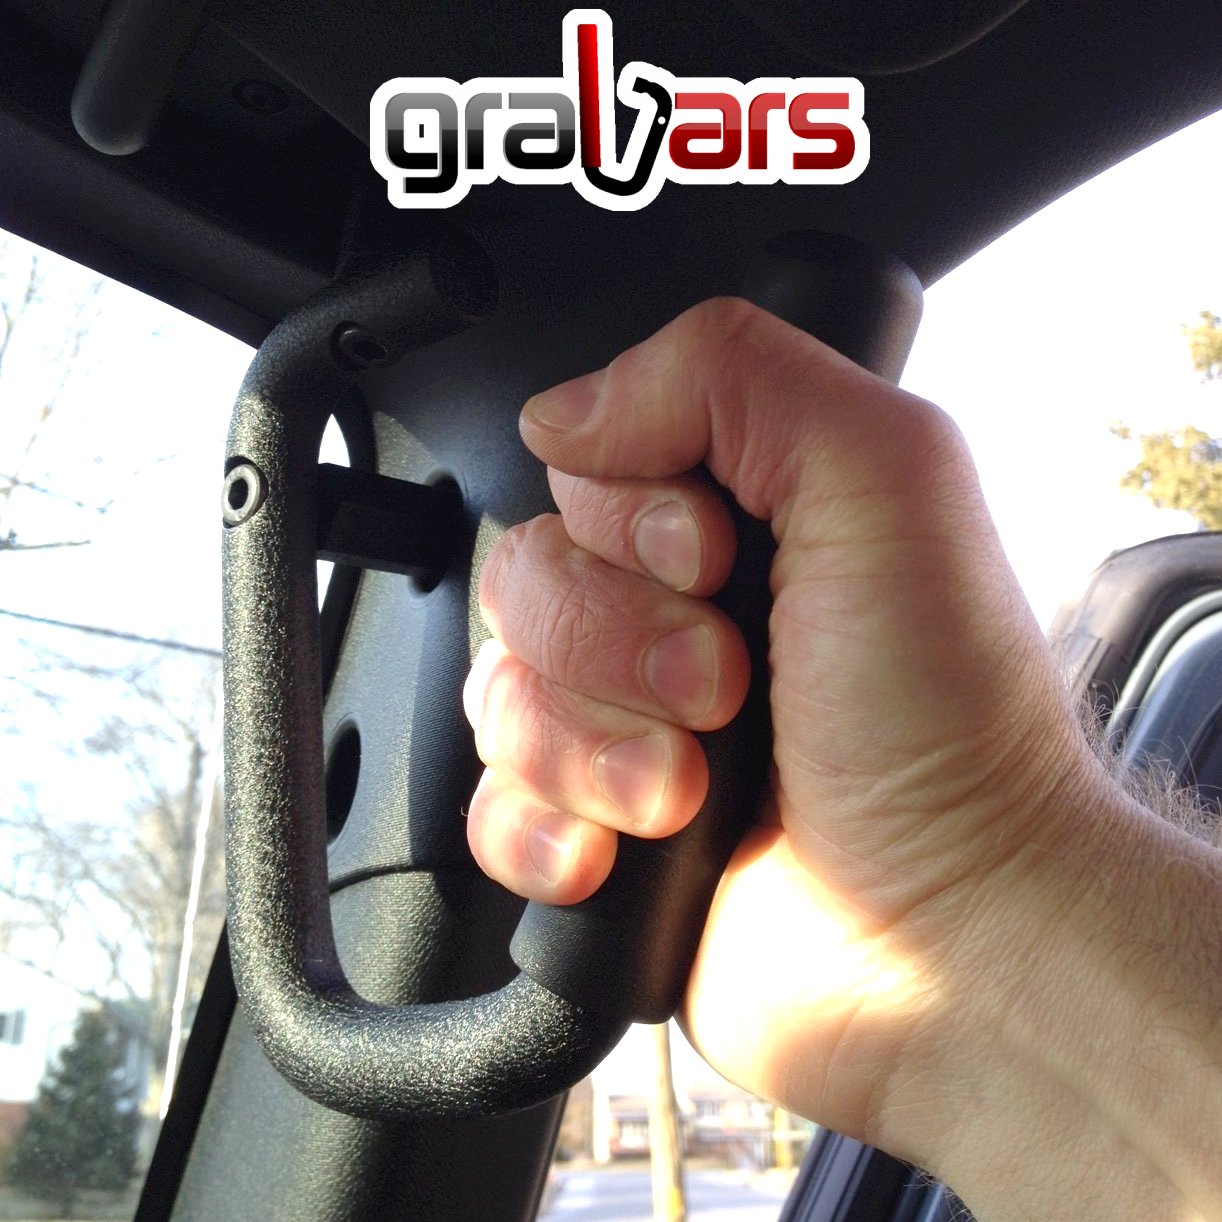
Once you get the bolts hand tightened, you can either use an allen on a torque wrench and go by the specified torque specs or if you have a feel for it, tighten as I did with the wrench handle method. But that’s it for the front. Fairly easy installation. Great looking, very firm, secure grab bars in a great location!
Installing the Rear Grab Handles
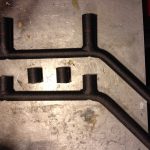
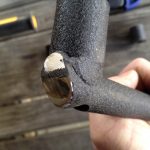
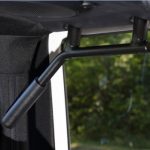
Things got a little interesting with the rear set. Little did I know, I mistakenly ordered a set of GraBars for a 2-door, not a 4-door. The difference between the 2-door and the 4-door is how far down the rear GraBars hang. For the 2-door, the entire length of the grab bar hangs low enough so that the upper part of it is also work as a handle to help the rear passenger grab and slide forward. It’s a good design for a 2-door but not for a 4-door. With the mistake being on my end and return shipping and ordering again amounting to about $40, I made the executive decision to break out the power tools and shorten the vertical bolt-on tubes.


Final Thoughts
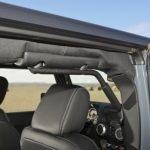
Aside from my minor detour, installation couldn’t have been easier. There are little unknowns with any installation, such as the bolt angles on the front grab bars but that’s to be expected. Just take your time and think about what you are doing. The fact that these grab bars require no cutting, no drilling, no tapping or any other kind of modification that can’t be undone is a big plus. I give them a big 5 out of 5 for quality. Made from 3/4″ solid stock steel they are definitely strong grab handles. In the past I’ve seen manufacturers fabricate handles out of hollow tubing that flexed and eventually bent. There is no bending these. The textured paint coating the steel seems durable and the rubber sleeves give them a firm solid grip to hang onto. The one great positive about these handles over the common wrap-around-the-rollbar handles is location, location, location. You’ll find that the forward location of these GraBars is right where you need it to lift your butt into the seat. When the grab handle is around the head area, which is where Velcro rollbar handles would hang in a JK, its not a convenient location for lifting yourself up into the seat. With these, it’s where you need it to easily lift yourself up into a lifted Jeep. It’s the exact same location as the welded in brace / grab handle in my 1978 CJ-7 which has been perfect. A big thumbs up to GraBars. Just make sure you order the right set for your 2-door or 4-door.