
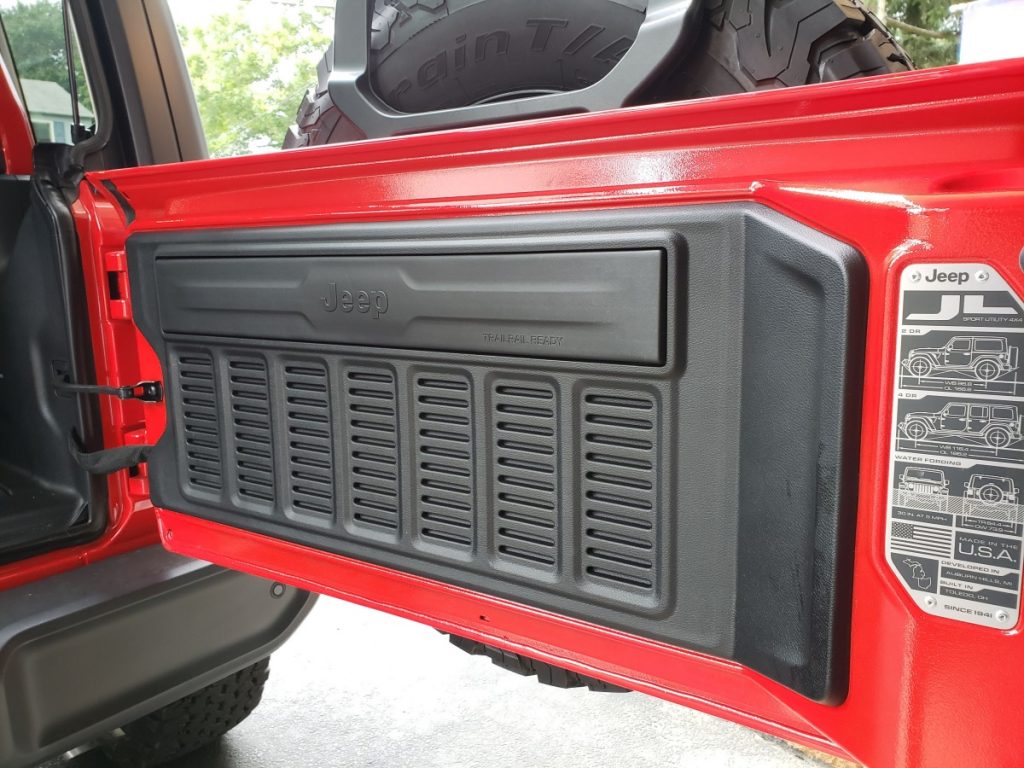
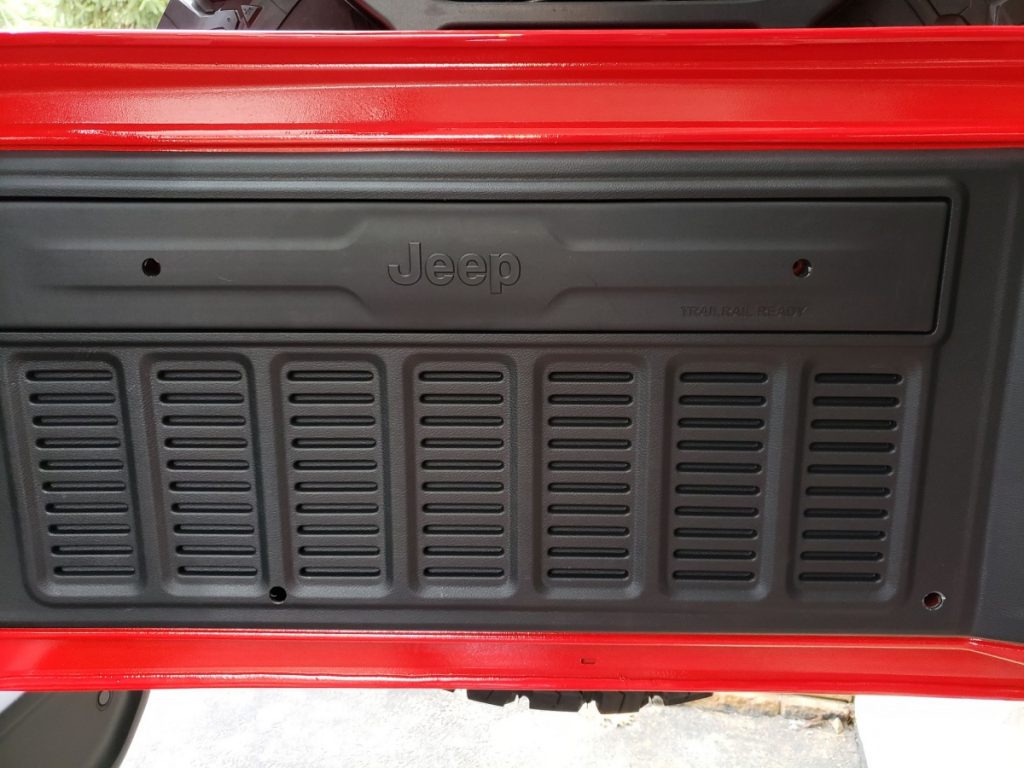
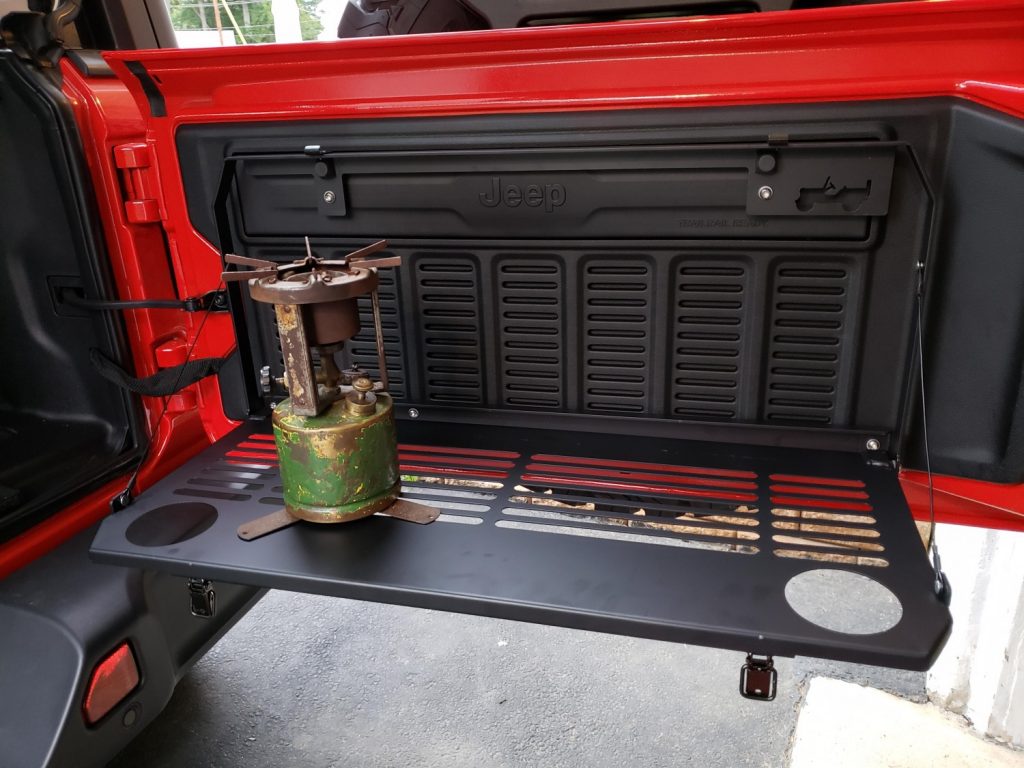
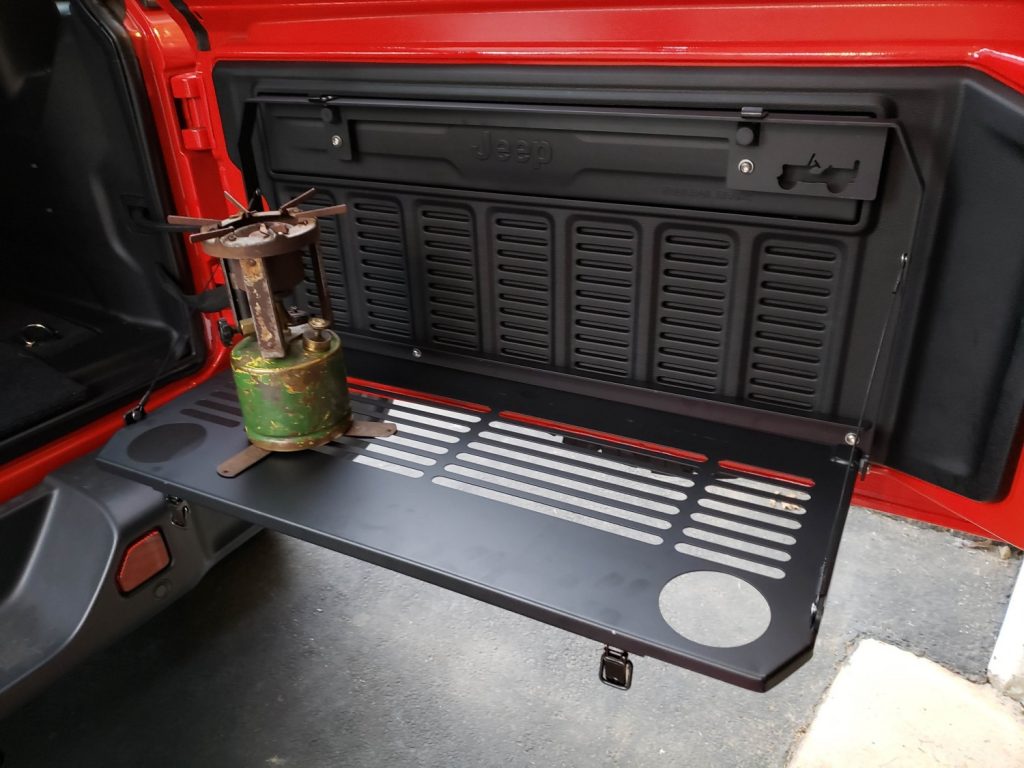
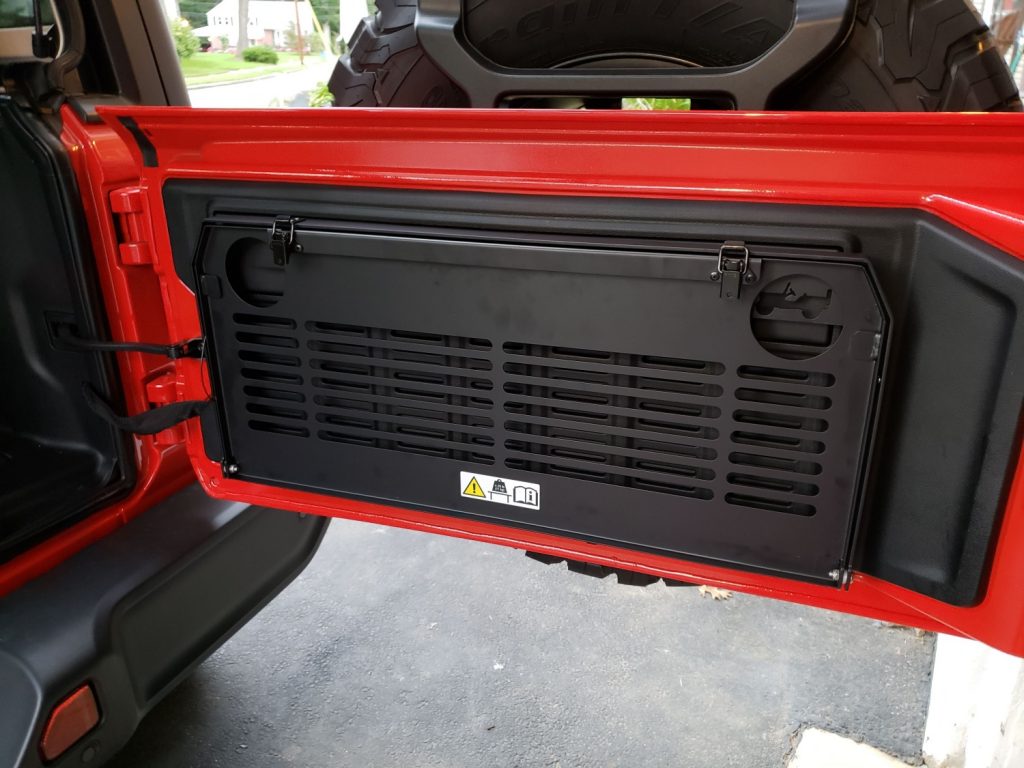
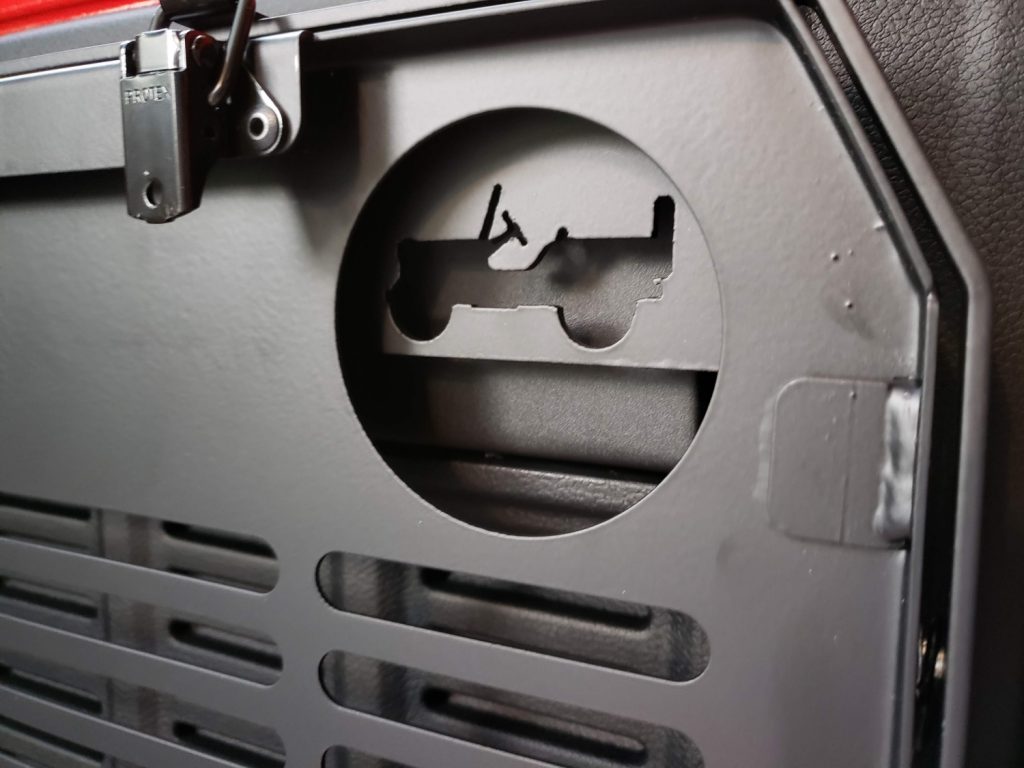
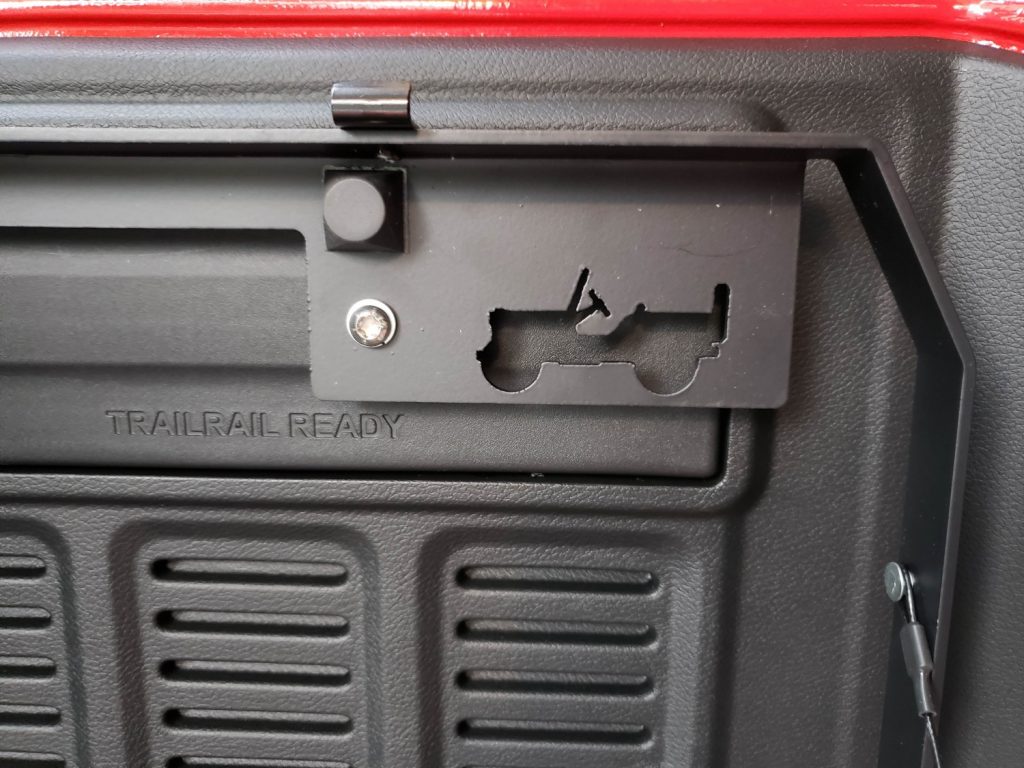
One of the cool things about a Jeep is that its a mobile platform for enjoying the great outdoors. On nearly every trail ride I’ve ever been on, there have been stops along the ride to rest or check out some spectacular scenery or just break for lunch. After hours of trail riding, it’s great to open the tailgate, pull out a few folding chairs and relax over some lunch and beverages or even do a little cooking on the trail. For years I had used a small collapsible table to set my food and beverage on. While the aftermarket had been making tailgate tables for years for the Jeep, Mopar decided to create a bolt on tailgate table for the JL ( Mopar Part #: 82215416AB) that uses existing mounting points on the stock tailgate. This makes installation such a breeze. The table measures 27″ Wide x 12″ Deep and it looks great with a laser cut Willys Jeep in the upper right.
Editor Note: After installing this Mopar designed table a while back, I can honestly say its a decent add-on to the JL. It comes in handy often, whether I’m on the trail kicked back for some lunch or if I need a place to set some tools while I’m working in the back of the Jeep. The price is not too bad at about $240 and installation is a breeze. The only complaint I’d have about the table is the latches have some play when the table is stowed up. So I’d hear the table rattle while I drove. This, however, was easily fixed with a couple of sticky rubber pads added behind the latch to buffer the table from the frame while stowed away. It would have been nice if the pads were included but it was easy enough to fix and I do like the table so really no complaints. overall, I’d give it a 4.5 out of 5 for looks, functionality, durability, and ease of installation.
The following is my installation of the Mopar 82215416AB Tailgate Table for 18-19 Jeep Wrangler JL.
Tools Needed:
- Drill
- 13mm drill bit
- Socket set
- T-40 Torx bit
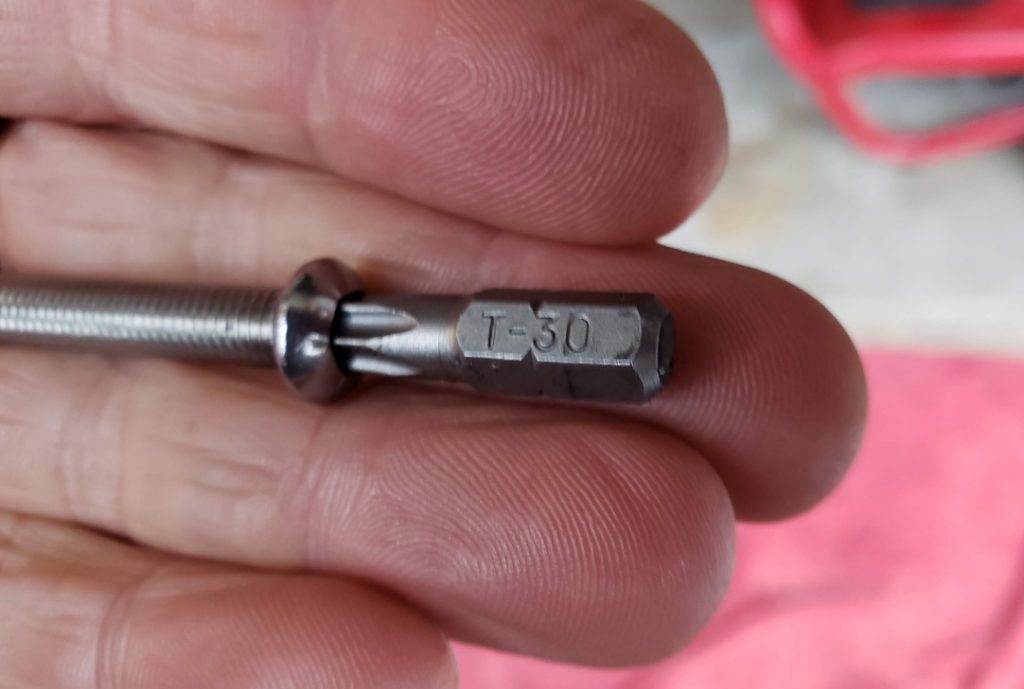
- T-30 Torx bit
- 10mm socket and socket wrench
- Torque wrench
- Nylon body panel removal tool
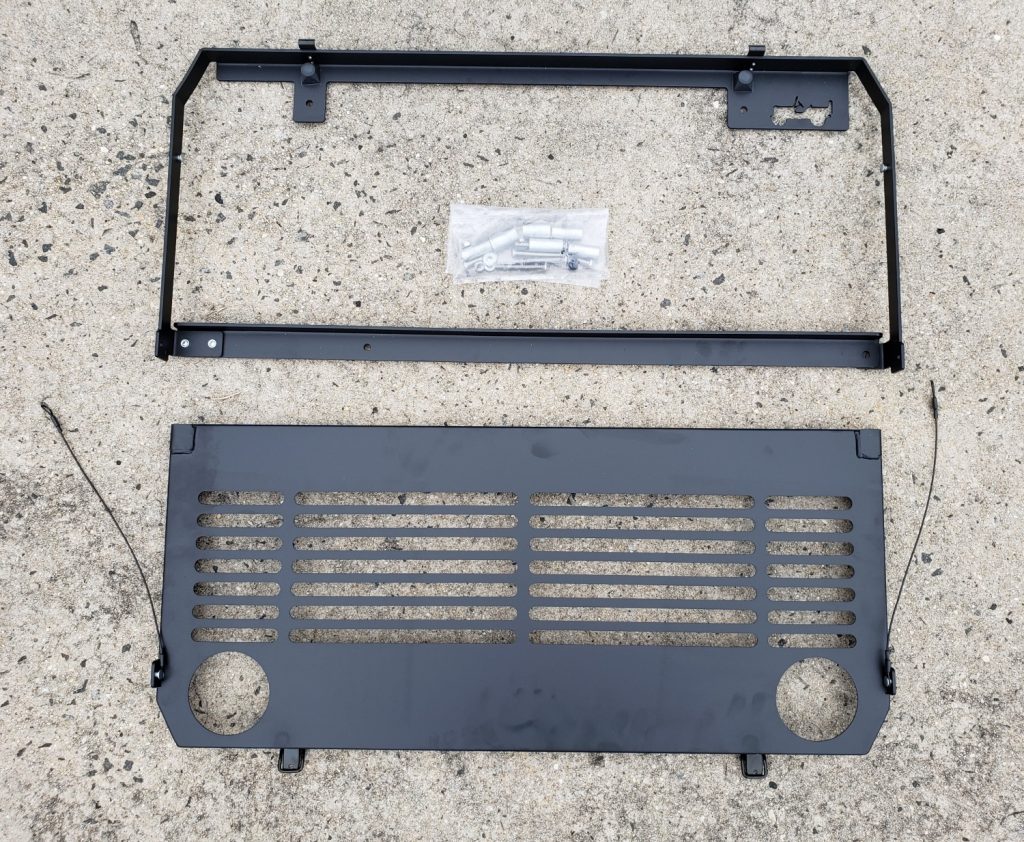
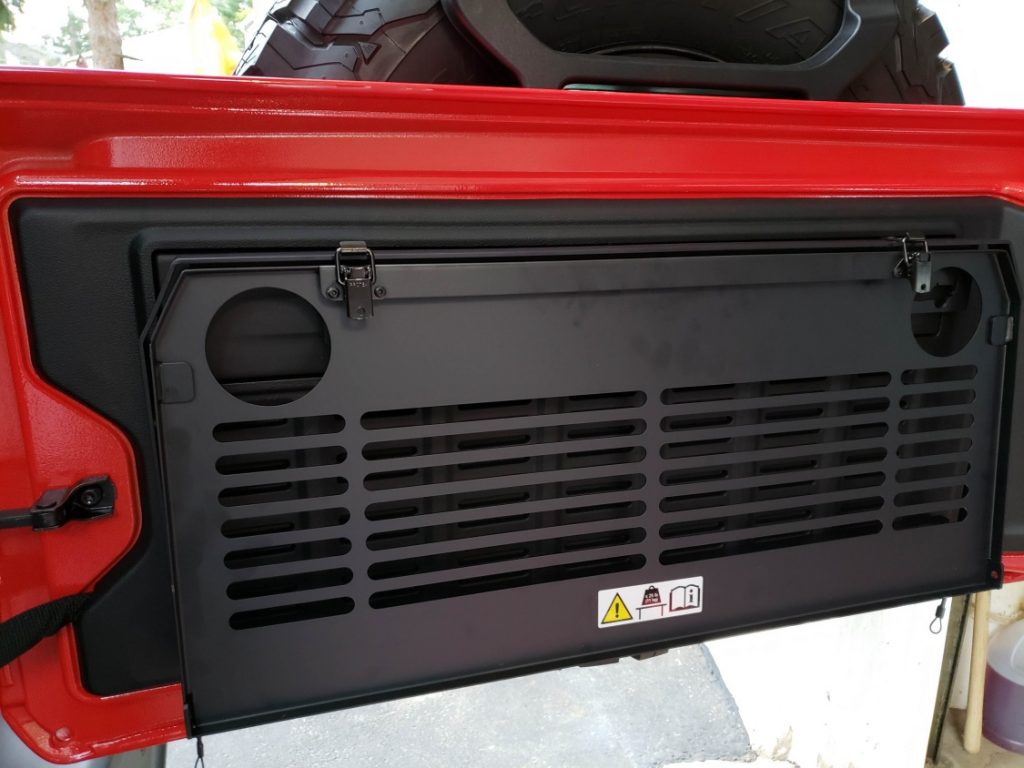
Mopar 82215416AB Tailgate Table for 18-19 Jeep Wrangler JL
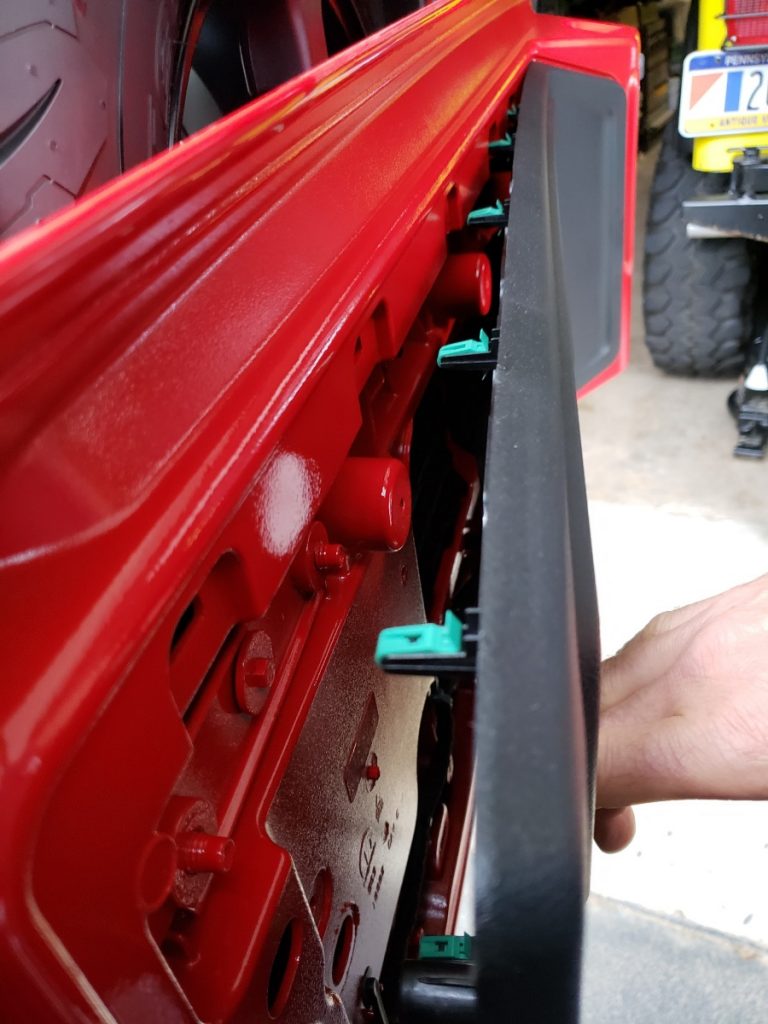
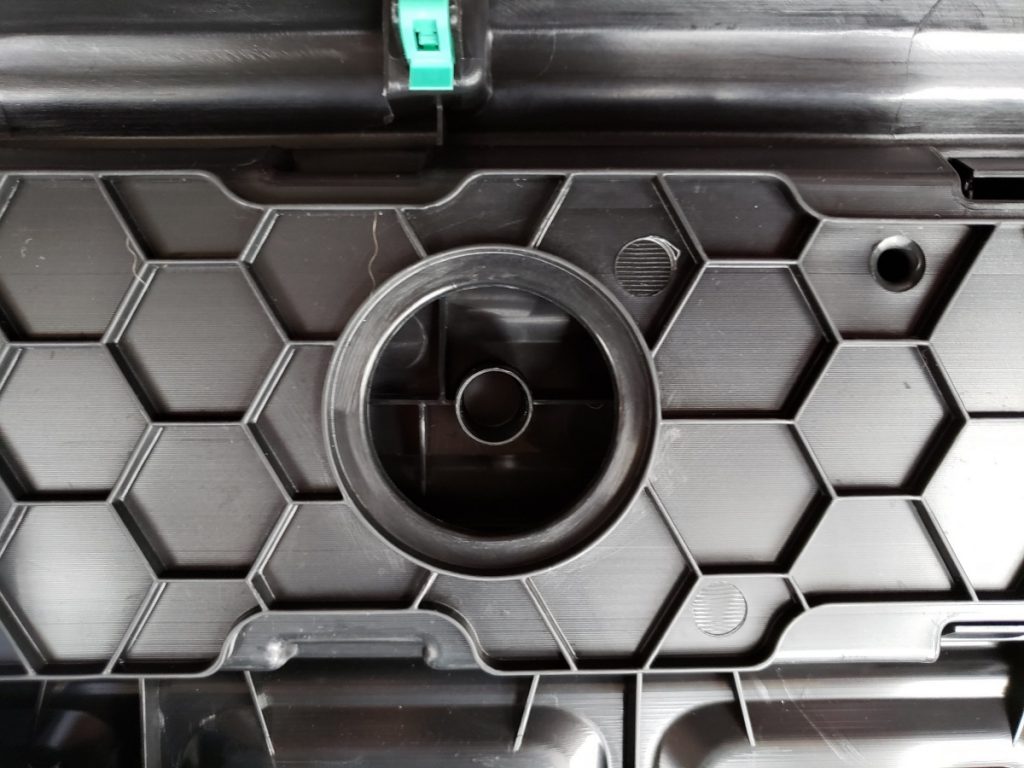
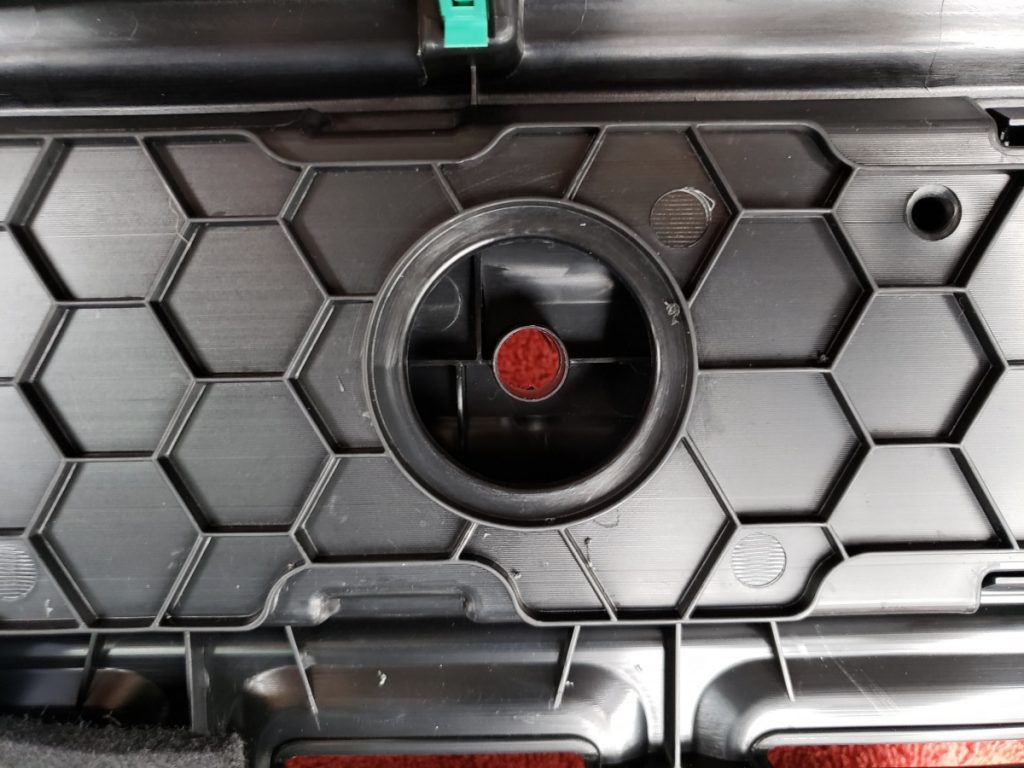
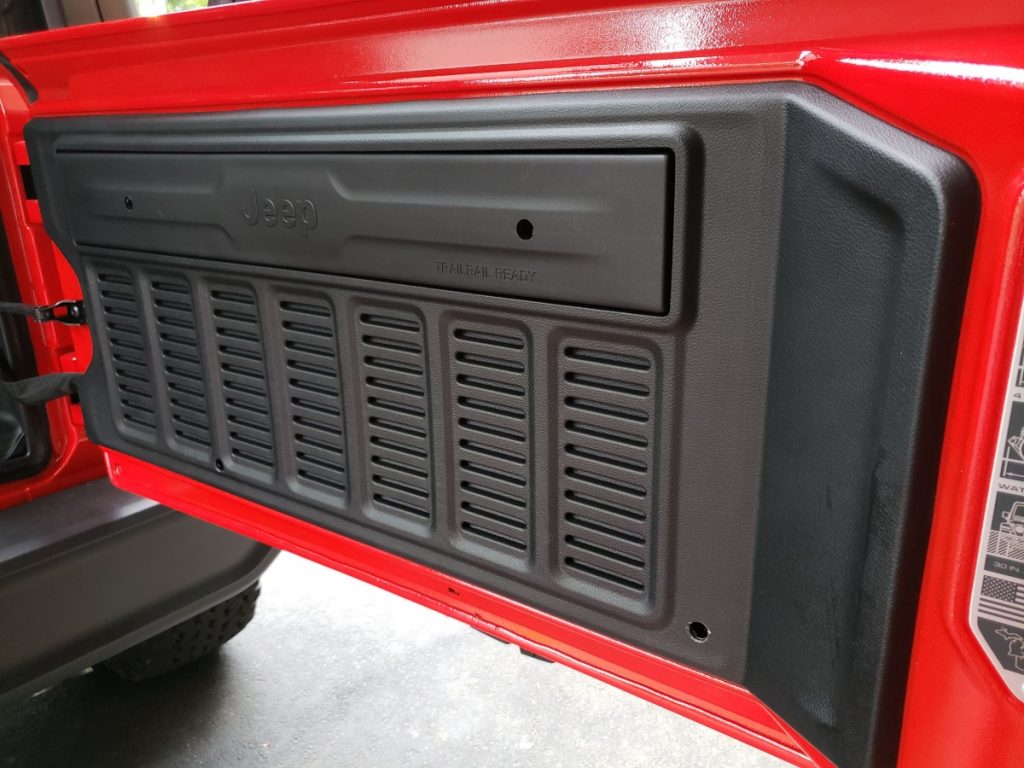
The first step is to identify which tailgate panel you have because there are two versions that differ in the small upper panel embedded within the larger panel. One will have three screws and the other will have the JEEP logo embossed in the panel. I have the JEEP logo version. The instructions show that you don’t have to remove the upper “JEEP” version of the panel but I chose to remove it since I’d be drilling holes in it. To remove the tailgate panel that is inset into the main panel use a nylon interior trim remover tool or nylon pry tool to pop the panel off.
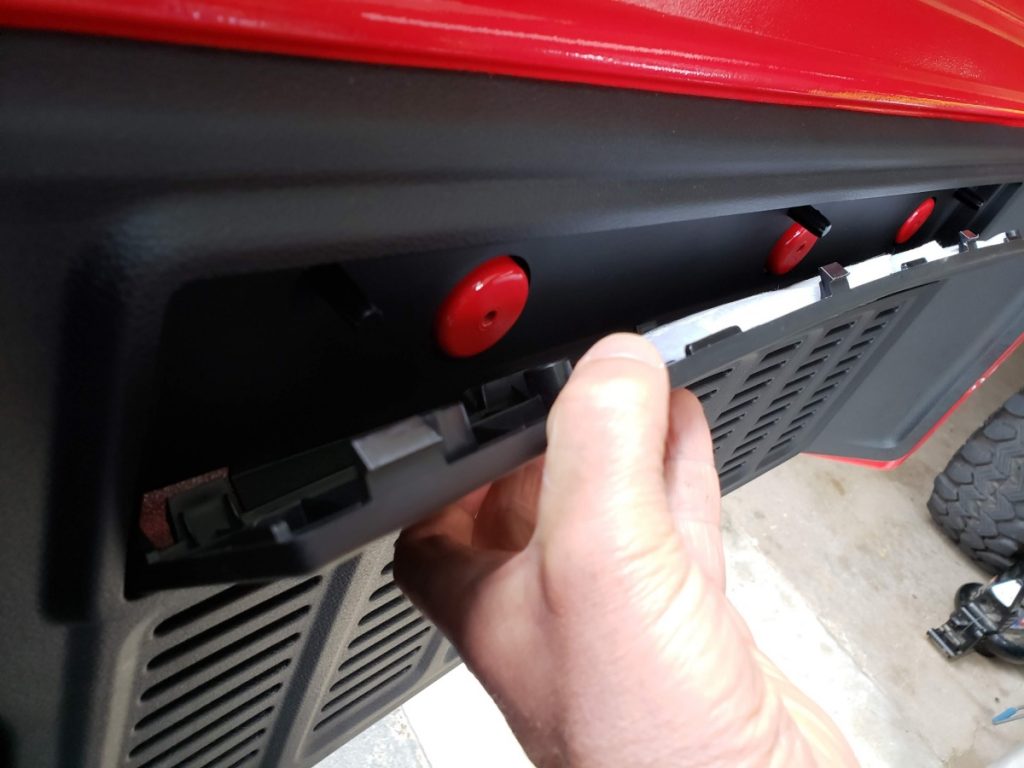
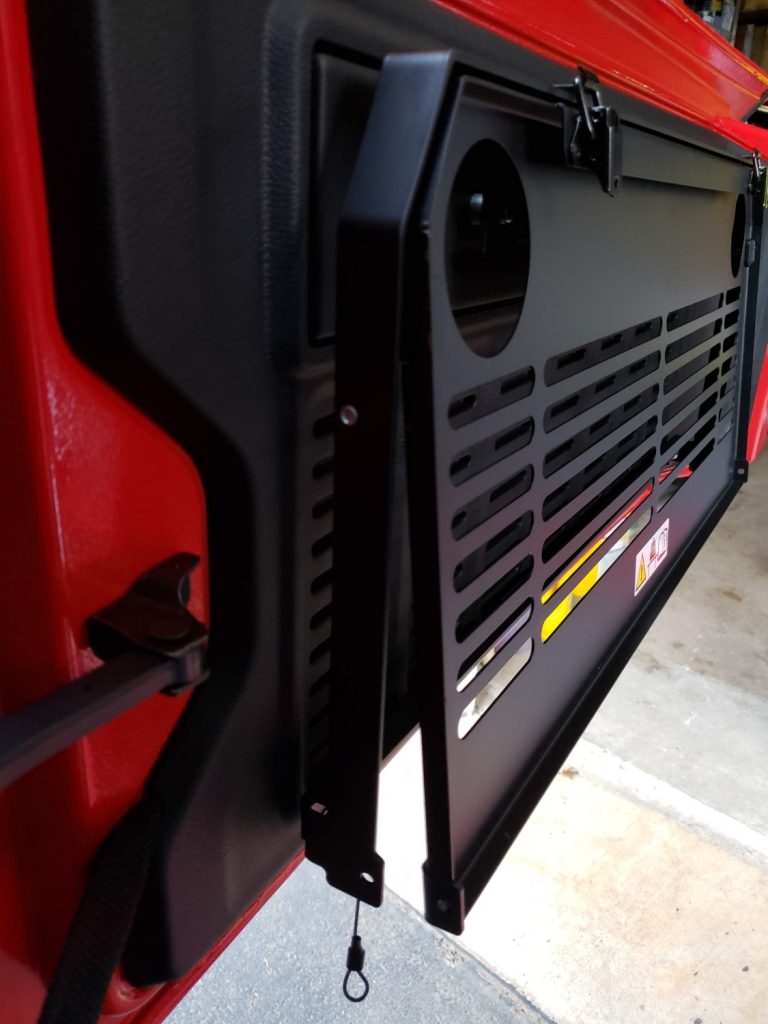
Next use the nylon interior trim remover tool to pry the entire rear panel off of the tailgate starting in the upper right corner.
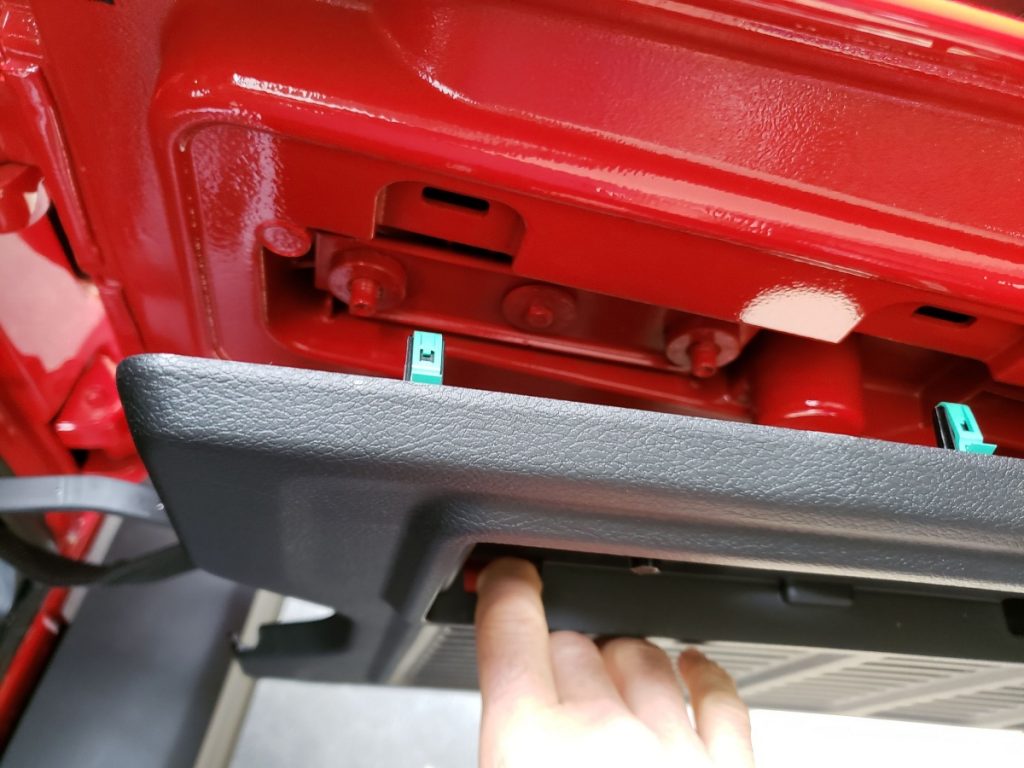
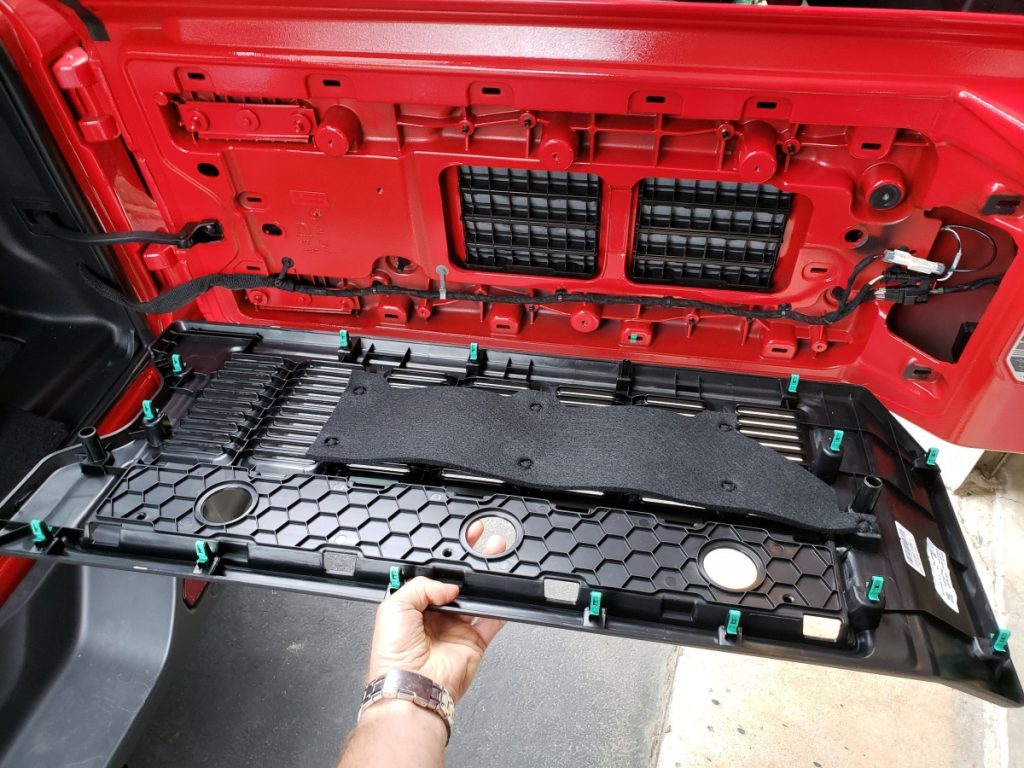
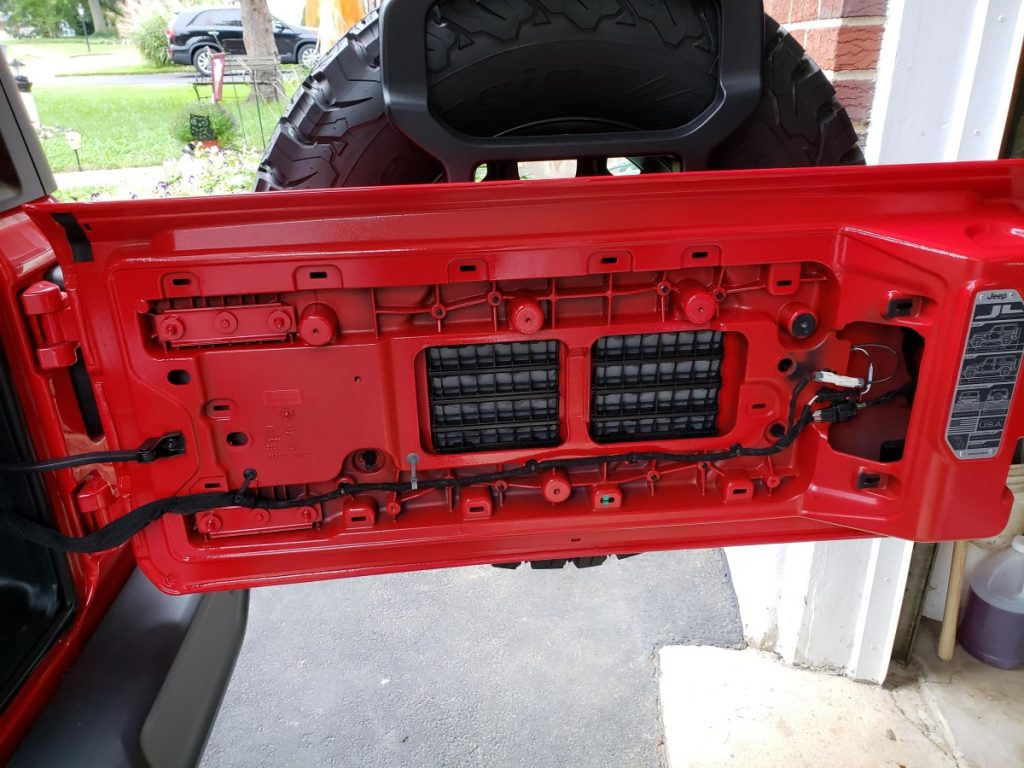
After removing the rear body panel, you will expose the tailgate structure.
If you’ve ever had a look at JK stamped steel tailgate you’ll notice that the JL tailgate seems to be much stronger. The JL uses a cast aluminum interior panel that is the supporting structure for the spare tire. The cast structure also incorporates threaded holes designed for future Mopar product installations including the Mopar Tailgate Table.
Cast aluminum structure of the JL Tailgate showing the hinge supports.
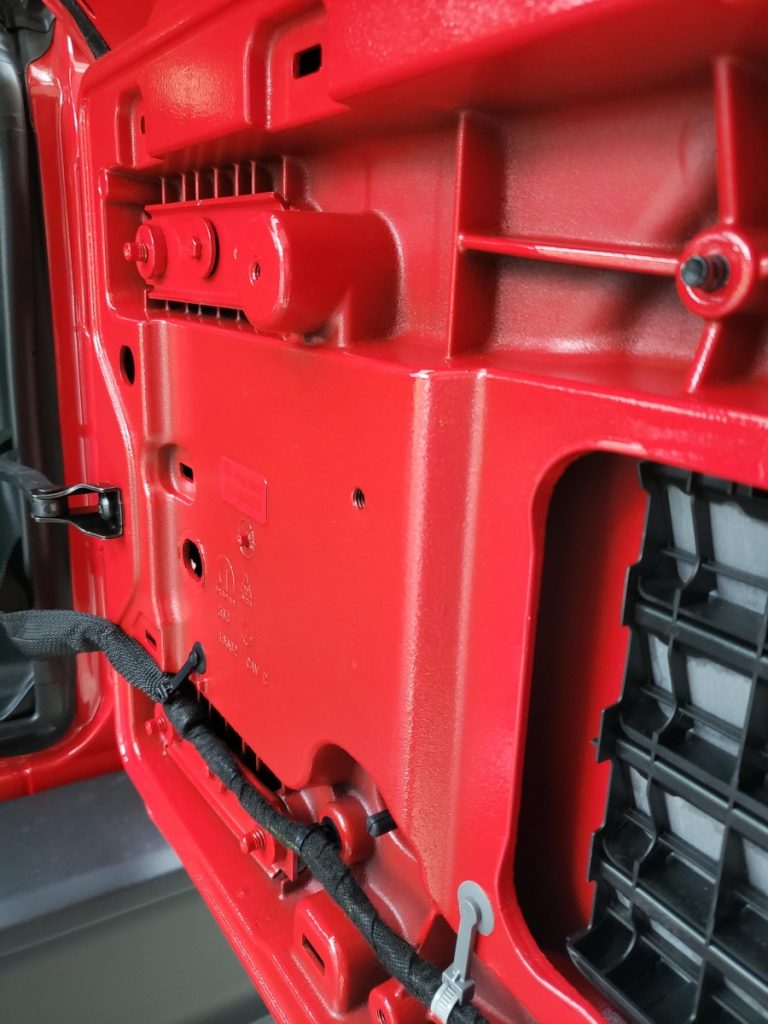
Another shot of the Cast Aluminum Tailgate of the Jeep JL
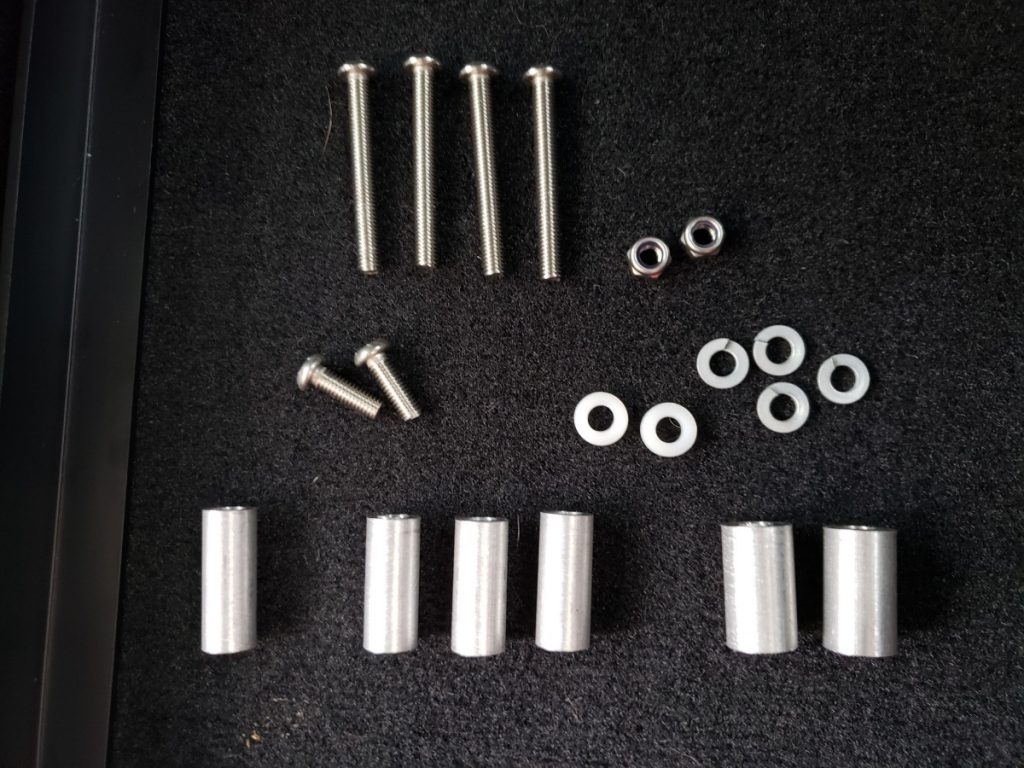
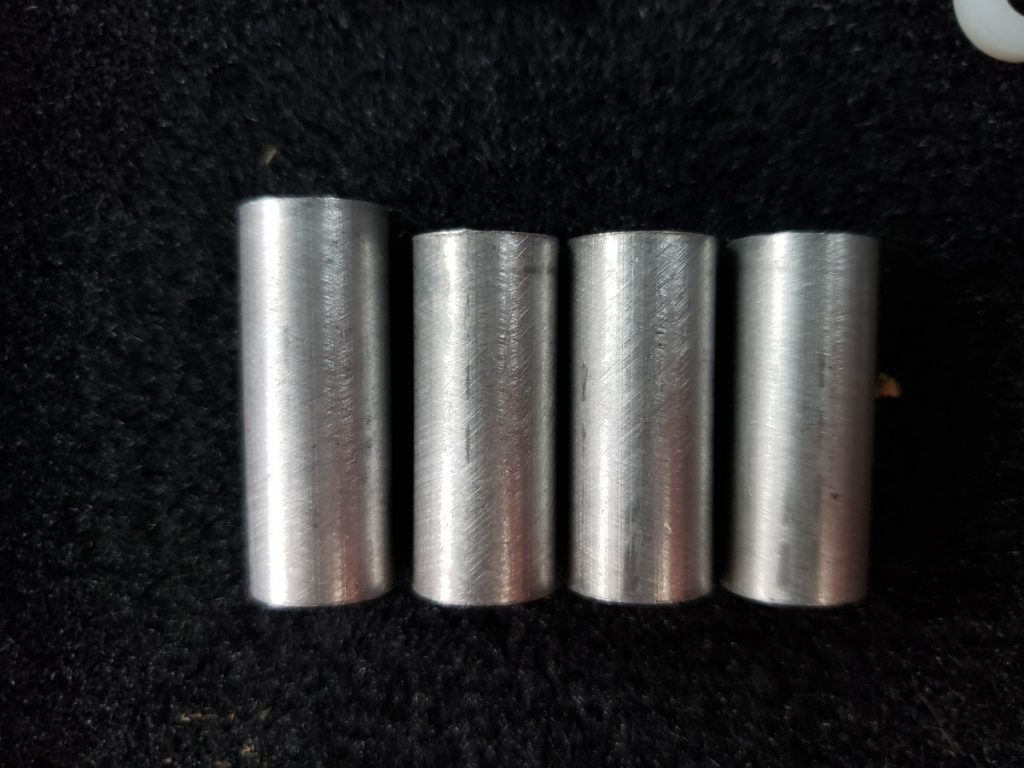
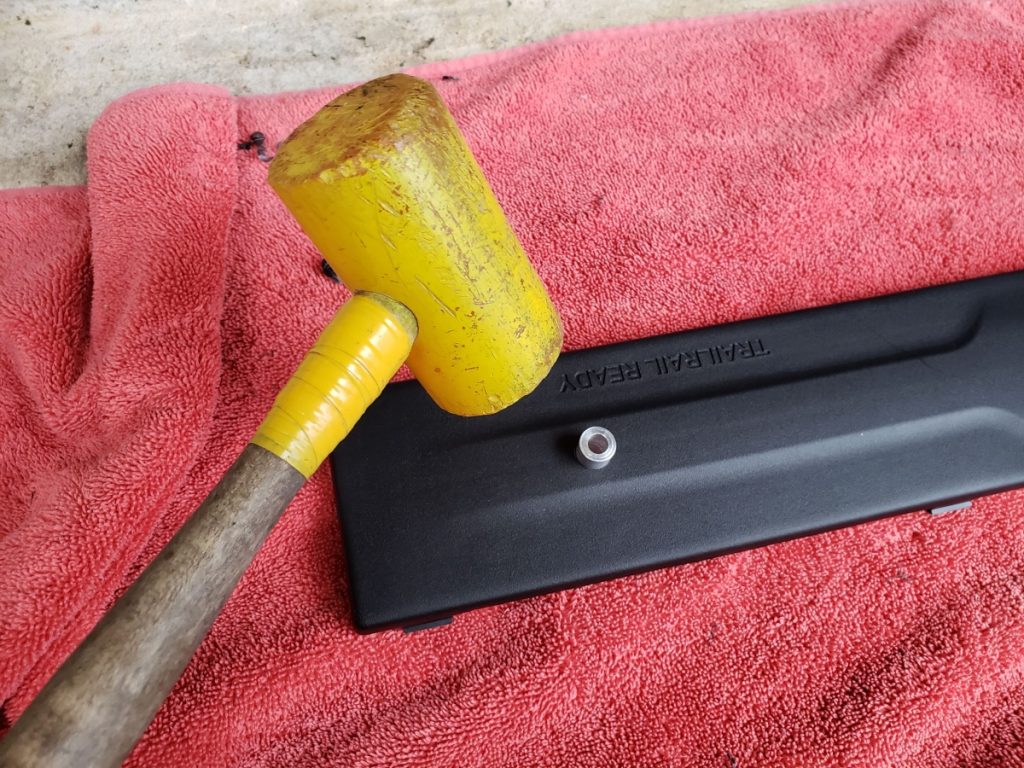
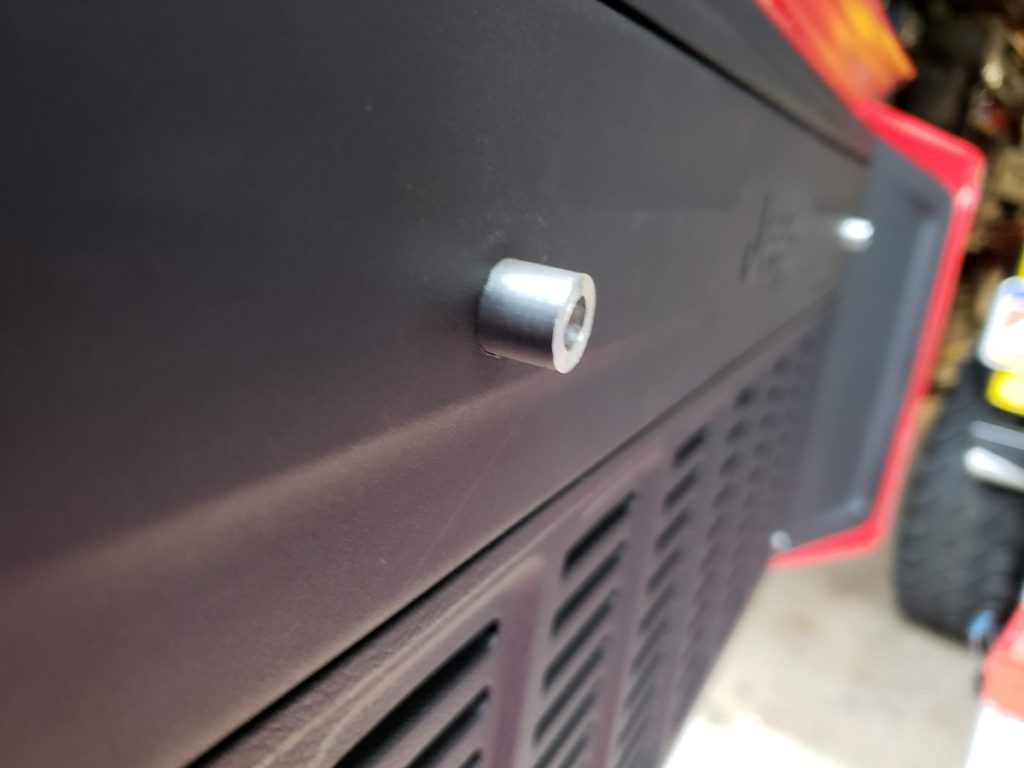
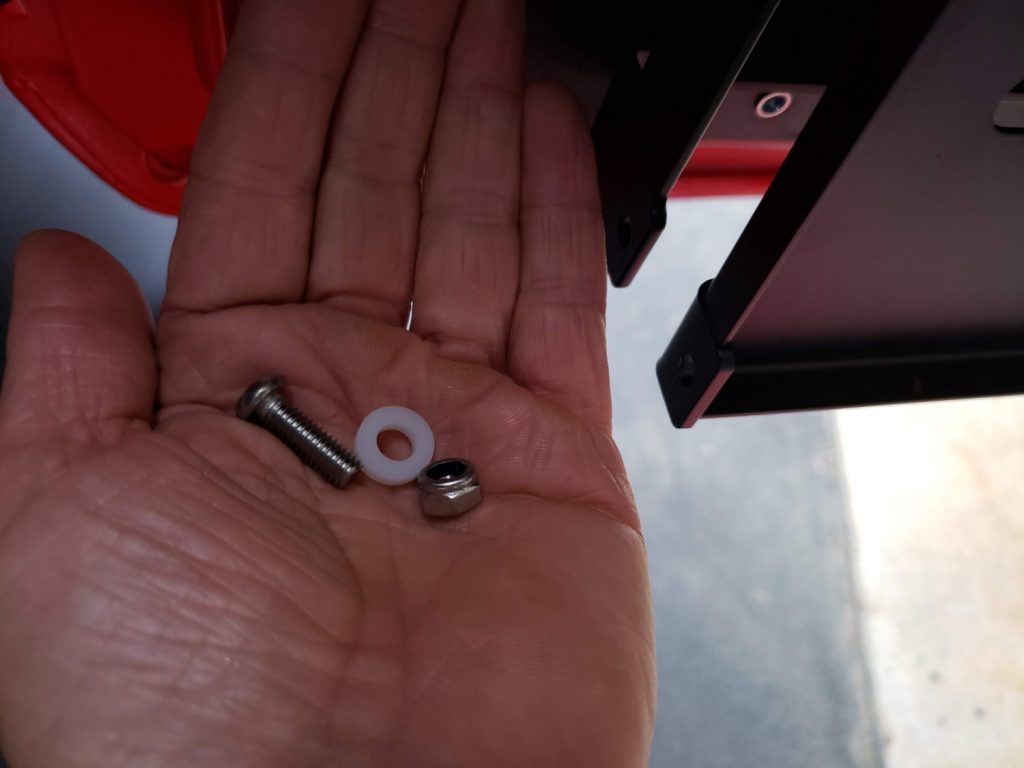
This is the hardware included with the Mopar Tailgate Table. It is important to identify the aluminum tubes because one of the four similar tubes is slightly longer. See below.
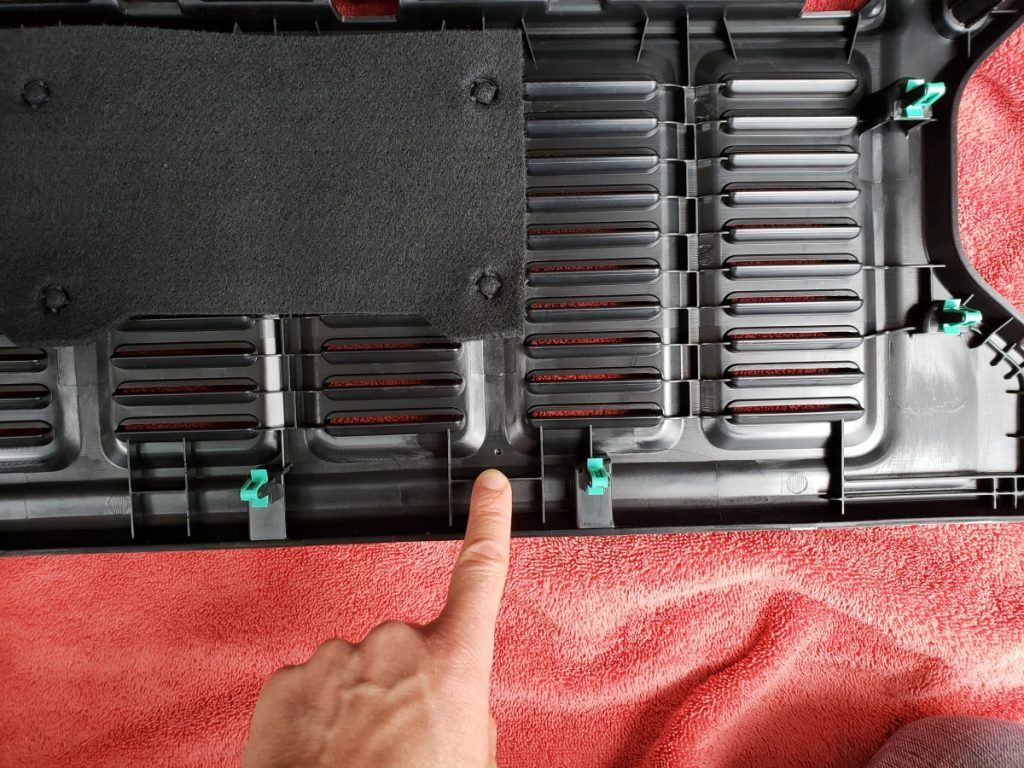
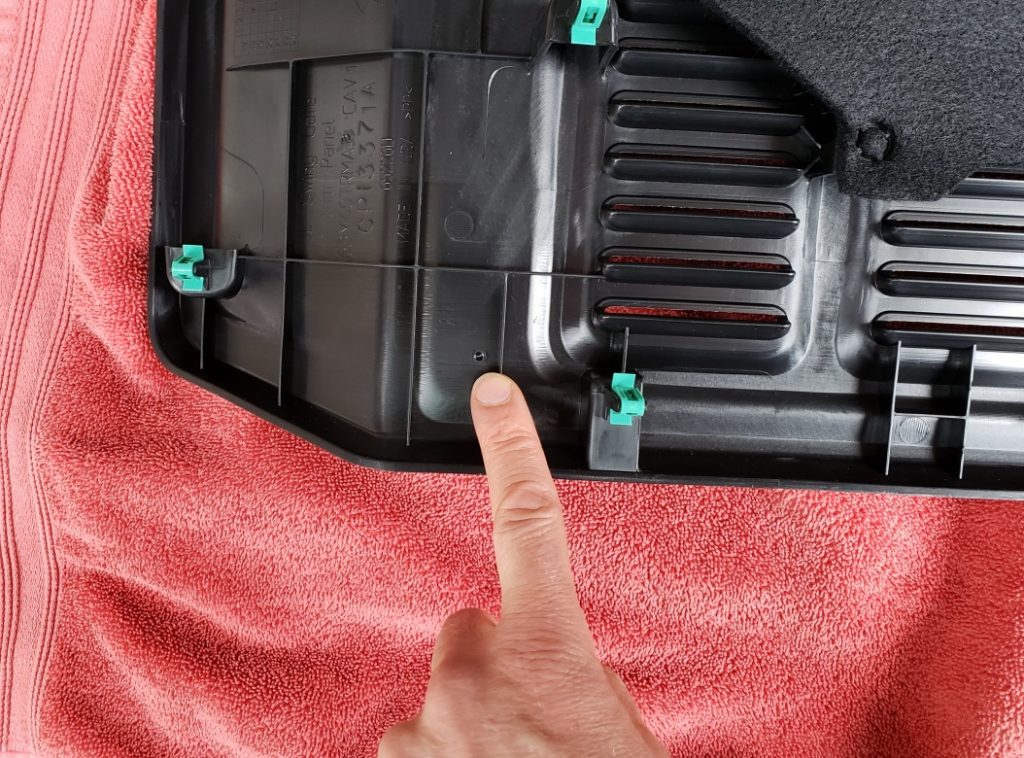
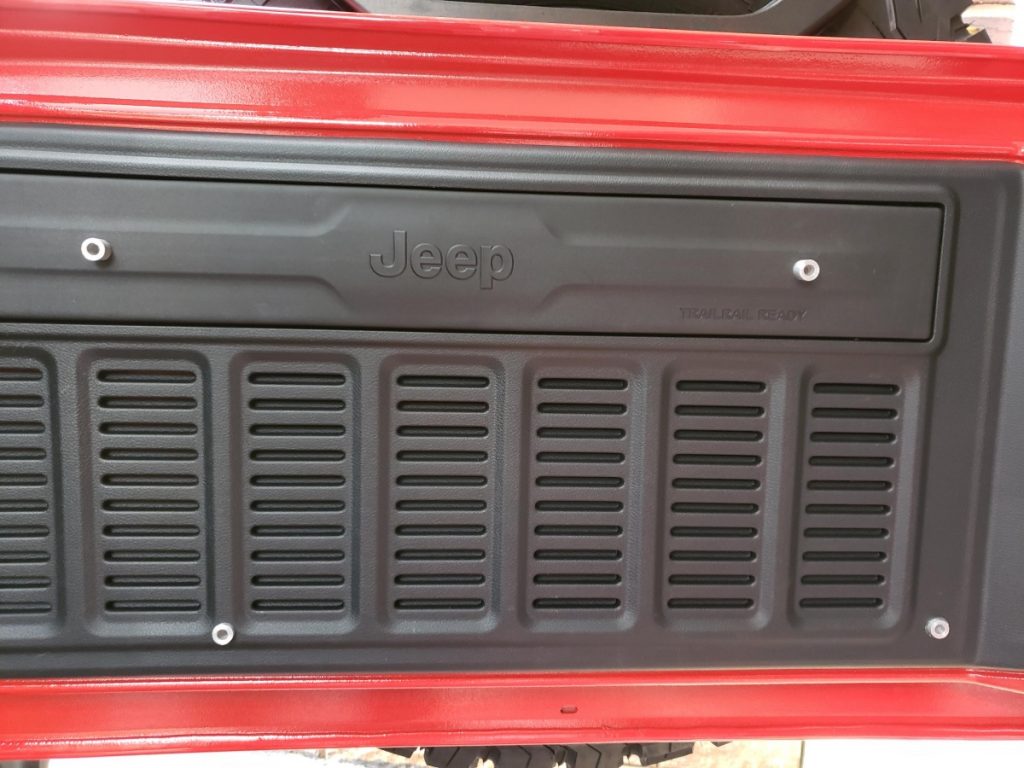
Next, you will do some drilling. There are four holes to be drilled in the plastic panel, two at the top and two along the bottom.
Drilling the bottom two holes. Locate and identify the two pre-marked drill points on the back side of the tailgate body panel. These two marks are at the bottom, one in the far right corner and another inset two vent panels in from the left side. See pics below.
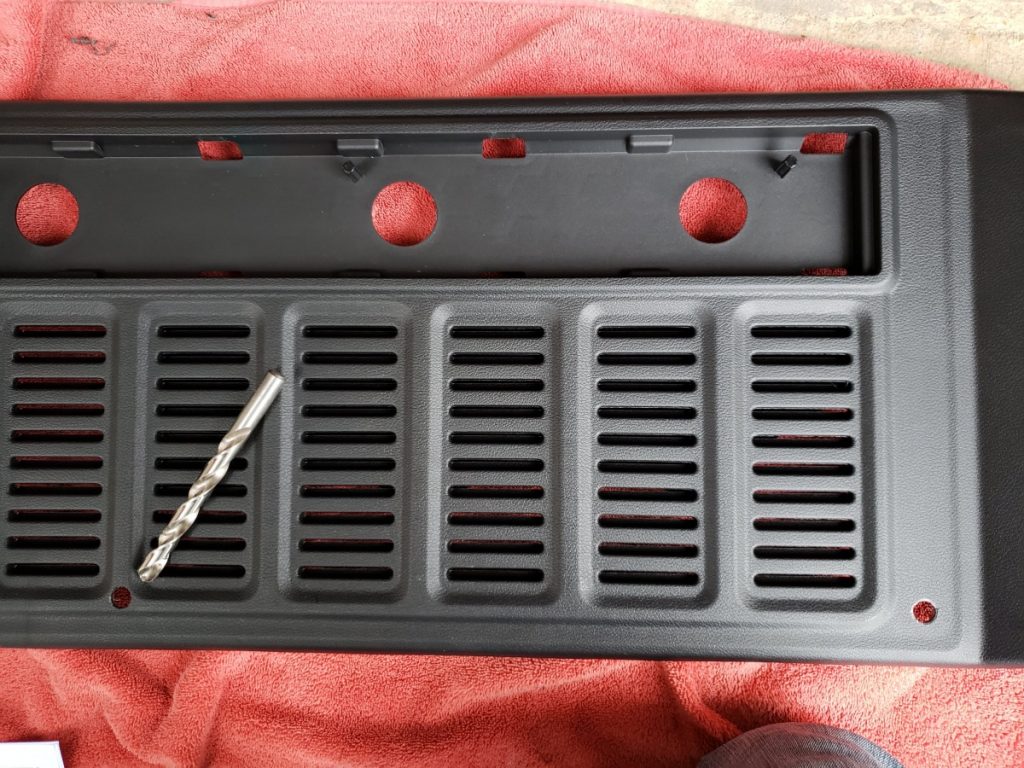
Drill the center hole with a 13mm drill bit.
Drill the center hole with a 13mm drill bit.


You show another two aluminum tube pieces that don’t show up in the installation process. What are they used for?